How to Install Govee Permanent Outdoor Lights
This is the walkthrough we wish existed before we started installing these. We are a Govee certified installer in the Capital Region and we only install the Govee Permanent Outdoor Lights Pro line, because it is the only one that can be cut and re-terminated to fit a real roofline. Everything below assumes the Pro system.
1. Measure and plan the run before you open the box
Walk the front of the house and count your steps, then multiply by about 2.5 feet per step. Add every gable, dormer, garage bay, and side roofline you want lit. Write the segments down separately, because the run has to start at a power source and travel in one continuous direction.
Plan where the strand starts. That decision drives everything else: outlet location, controller placement, and whether you end up with a visible drop wire across the front of the house.
2. Decide the mounting surface
There are three normal options and they do not perform the same.
- Under the drip edge. Cleanest look, best protection from ice, hardest to reach.
- Fascia face. Easiest, but the pucks read as visible hardware in daylight.
- Soffit. Good for downlighting a facade, poor for a defined roofline outline.
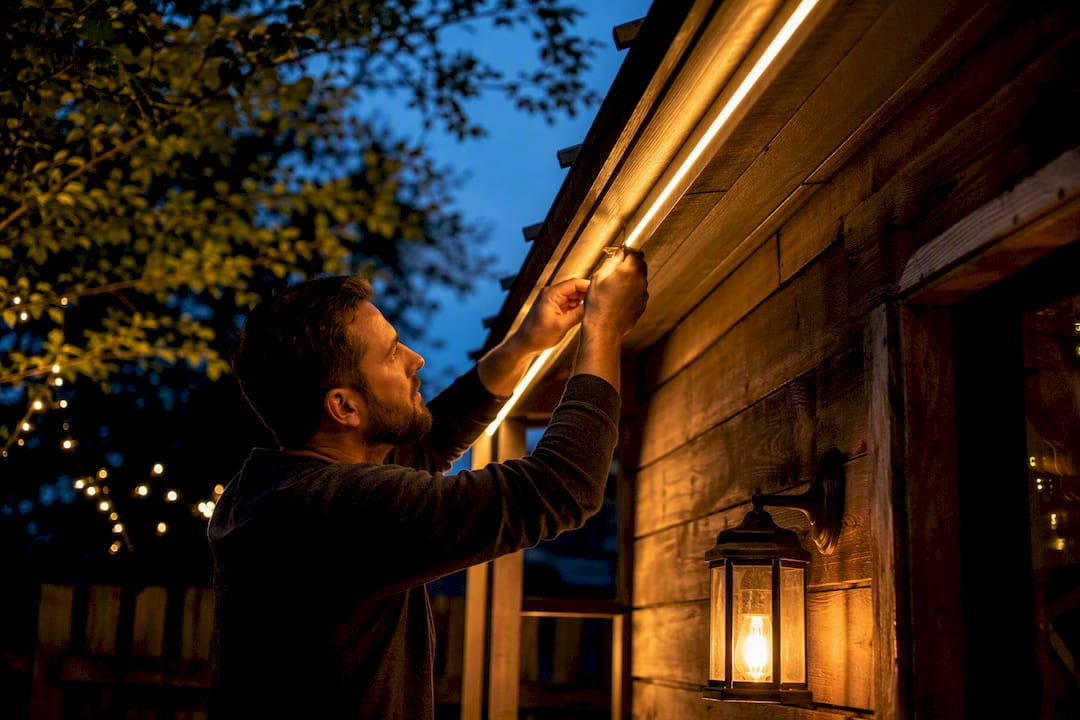
Aluminum fascia, vinyl trim, and wood all take fasteners differently. Vinyl expands and contracts through a Capital Region winter, so anything mounted tight enough to bind will pull loose by spring.
3. Spacing and clips
Govee Pro pucks sit at roughly 20 inch spacing. That is wider than a track system, so the line reads as points of light rather than a continuous bar. Nothing is wrong with that look, but know it before you commit.
The stock clips are the weakest part of the kit. We print custom clips in house because the factory clips let pucks rotate and drop out of alignment after a season of freeze and thaw. If you are doing this yourself, plan on checking and re-seating pucks each spring.
4. Cutting and re-terminating
Cut only at the marked cut points between pucks. Every cut has to be sealed and re-terminated properly or water tracks into the strand and takes out everything downstream. Do this on a bench, not on a ladder, and test the segment before you mount it.
5. Corners, gables, and peaks
Corners are where most DIY installs look wrong. The strand needs a controlled bend radius, and forcing a tight 90 degree turn stresses the conductor. Gable peaks need the puck angle changed as the roofline pitches, or the light throws sideways instead of down the wall.
6. Controller and power
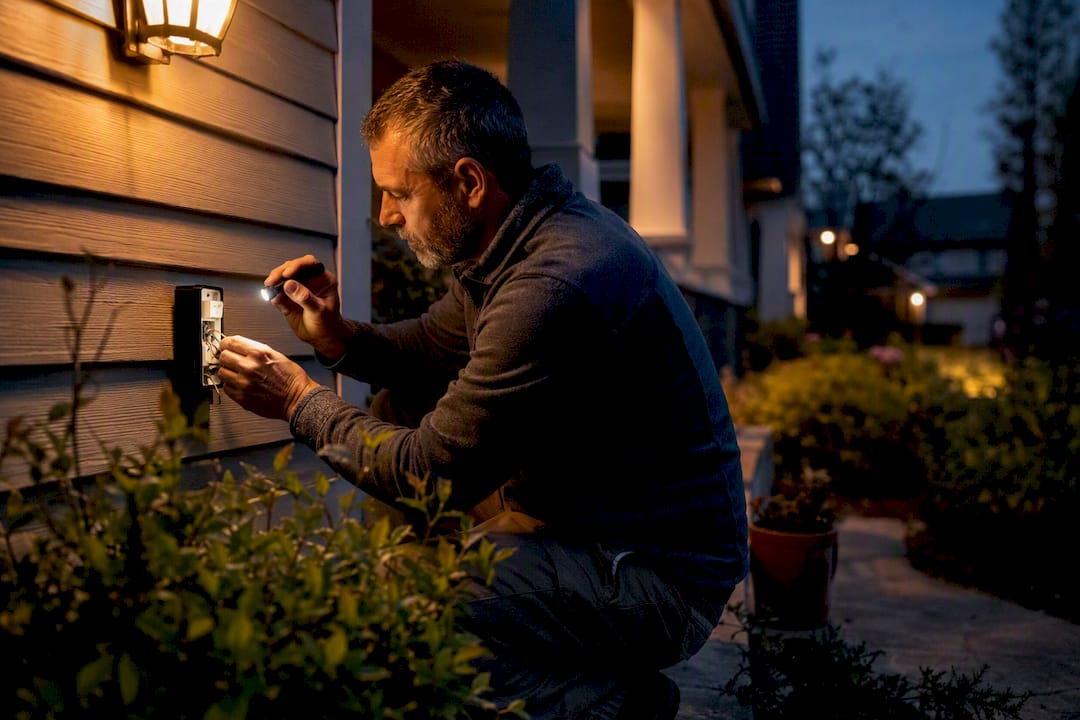
The controller has to live somewhere dry, reachable, and within wifi range. A soffit corner or the inside of a garage near an exterior outlet works. Count your controllers during planning: long rooflines need more than one, and each one needs power.
Use a GFCI protected exterior outlet. If the only outlet is on the wrong side of the house, that is an electrician call, not an extension cord.
7. Commission the system
Map segments in the app so the front, the gables, and the garage can be controlled separately. Set the dusk to off schedule, then save your presets: warm white for ordinary nights, red and green for December, orange for October, team colors for game day.
Where DIY installs actually fail
- Ladder work. Two story rooflines and steep pitches are the reason most of these jobs get handed to us halfway through.
- Unsealed cuts. One bad re-termination kills the rest of the run months later, in January, when nobody wants to be on a roof.
- Stock clips. Pucks rotate, sag, and fall.
- Crooked lines. A roofline that is off by half an inch over 40 feet is visible from the street at night.
What it costs to have it installed
Govee installs run about $10 per linear foot installed and typically start around $1,000, plus the lights. Track systems run higher and carry a lifetime parts warranty. Our pricing page has the full breakdown, and the cost calculator gives you a range from your own roofline measurement.
If you would rather not do the ladder work, we install Govee Pro across Albany, Schenectady, Saratoga, Troy, and the surrounding Capital Region, with a 3 year manufacturer warranty on the product that we handle for you plus a 1 year labor warranty on our installation. Call or text (518) 900-1912.
Ready for a Brighter Home?
Free, no-pressure quotes across the Capital Region.
No obligation. Local installer. Same-day callback.
Reviewed by Capital Pro Lighting
Capital Pro Lighting installs permanent outdoor lighting, architectural lighting, and holiday lighting across Albany and New York's Capital Region. We are an authorized InvisiLights dealer and a Govee certified installer, with 10 years in business. More about our team.