
Permanent Lighting Expansion: 5 Electrical Checks Before You Buy

Permanent Lighting Expansion: 5 Electrical Checks Before You Buy
Yes, you can usually expand a permanent outdoor lighting system you already own, but only after you check two things first: your controller’s maximum light or segment count, and whether your current power supply can handle the added load. Start by inventorying your controller and transformers, then plan wiring zones before you buy a single bracket or foot of track.
TL;DR:
- Record your controller’s maximum light or segment count, current usage, transformer rating, and planned fixture wattage before buying any hardware.
- If added fixtures exceed the transformer’s rated capacity, add a second supply; separate zones across circuits with separate GFCI protection to isolate faults.
- Match new track or clip hardware to the existing system, and use sealed outdoor connectors to prevent visible seams and moisture damage.
- Update the app’s total light or segment count before powering the expansion, then test each new zone independently and check wiring polarity if fixtures fail.
- Hire a licensed electrician if expansion requires a new dedicated circuit, permit, or panel access; simple additions to existing zones often do not require one.
How to assess your existing system before you buy anything
Before adding a single fixture, take stock of what you already have. The controller is the brain of the system, and most app-based controllers list a maximum light or segment count either in the app’s settings menu or on a label on the unit itself. Write that number down, along with how many lights or segments you’re currently using, so you know how much headroom is left.
Next, check your power supplies. Note the transformer wattage rating, where outlets are located, and how your current lights are already split into zones. This tells you whether a new run can tap into an existing supply or needs its own.
Mounting style matters too. Record whether your system uses track or trackless clips, along with the bracket type and finish color, so new hardware matches what’s already installed.
- Photograph the controller label and app settings screen showing current light count.
- Photograph transformer locations and any visible wattage or amperage labels.
- Note which zones exist today and which rooflines or areas they cover.
- Sketch a simple layout of your roofline showing where you want new coverage.
These photos and notes make it far easier for a supplier or installer to quote accurately and avoid ordering the wrong parts.
Electrical planning: sizing, splitting into zones, and avoiding voltage drop
Electrical capacity is where most expansion plans run into trouble. Adding fixtures without checking the math behind them risks dim lights, tripped breakers, or a controller that simply won’t recognize the new segments.
- Add up the wattage of the new fixtures you’re planning to install.
- Compare that total against your existing transformer’s rated capacity.
- If the combined load exceeds the transformer’s rating, plan for a second power supply rather than overloading the first.
- Split the expanded display into separate zones, each with its own circuit or outlet, which reduces system-wide failure risk and simplifies GFCI troubleshooting compared with one continuous run.
- Place power injection points at intervals along long runs to keep brightness even from one end to the other.
Pro Tip: Label each zone and its power source as you go. Future troubleshooting takes minutes instead of hours when you know exactly which transformer feeds which section.
GFCI placement affects more than code compliance. A single GFCI outlet serving multiple zones can trip from a fault in one area and kill power to sections that were working fine. Splitting zones across separate GFCI-protected circuits isolates problems instead of letting one fault take down the whole display.

Some expansions cross a line where a licensed electrician becomes necessary rather than optional: running a new dedicated circuit, pulling a permit, or opening an electrical panel. If your plan involves any of those, that’s the point to call a professional rather than push forward on your own.
Mounting and wire management for a seamless expansion
The best expansions are invisible during the day. That starts with following the lines your home already gives you: gutter backs, window casings, and siding seams all provide concealment and structural support at the same time, since wiring routed along these structural lines avoids stretched runs across bare siding.
Matching your original mounting style keeps the look consistent. A home with track-mounted lighting should stay on track for new runs, and a trackless clip system should expand with the same clip type, because mixing styles creates a visible seam between old and new sections that’s hard to miss in daylight.
- Route new wiring along architectural lines rather than across flat wall sections.
- Match track or clip type to what’s already installed so brackets and finishes blend in.
- Build drip loops at every low point and junction to shed water before it reaches a connection.
- Elevate junction boxes slightly off the mounting surface rather than letting them sit flush against siding.
A quick comparison: homeowners who’ve looked into practical ways to make a house look more expensive often find that small, consistent details, matching hardware finishes, clean lines, no visible wiring, make a bigger visual difference than the number of fixtures installed. The same principle applies to a lighting expansion: a smaller run done cleanly looks better than a larger one with mismatched brackets or sagging wire.
Before finalizing a mounting plan, photograph a few close-up examples of your existing brackets and connection points. These photos help a supplier match finish and bracket style exactly, which matters most where new and old sections meet.
Connectors, weatherproofing, and materials to use
Reliability over the long run comes down to a handful of hardware choices. Outdoor-rated, sealed connectors and housings are built to handle years of temperature swings and moisture, while electrical tape traps moisture against the connection instead of keeping it out, which accelerates corrosion rather than preventing it.
Every connection point benefits from the same basic layout: elevate it slightly, point any open sockets downward, and build in a drip loop so water drips off the wire instead of running into the joint.
- Use sealed, outdoor-rated connectors rather than tape or improvised wraps.
- Point sockets downward and elevate junctions off flat surfaces.
- Match wire gauge to run length, since longer runs need heavier gauge to limit voltage drop.
- Keep jumper wires flexible enough to route around corners without strain on the connection.
Pro Tip: Keep a small bag of matching connectors and a spare bracket or two on hand after your expansion. Minor repairs are far easier when you’re not hunting for a discontinued part two years later.
Workmanship and materials affect more than looks. A lifetime parts warranty on a track installation only holds up when the materials used meet the standard the warranty was written around, so matching original-grade connectors and housings protects that coverage along with the system’s performance.
Controller and app setup, plus a testing checklist
New fixtures won’t light up correctly until the controller knows they exist. Updating the “Total Light Count” or “Number of Segments” setting in the app before powering on the new run is the single step homeowners skip most often, and it’s the most common reason a freshly installed section stays dark or out of sync.
- Update the total light count or segment number in the controller app to include the new fixtures.
- Power up each new zone independently first, confirming every fixture responds before connecting to the rest of the system.
- Run a full-system color and pattern test to confirm the new section matches brightness and timing across the whole display.
- For dim runs, check voltage drop and gauge; for unresponsive segments, recheck polarity mapping across power, data, and ground connections.
A detail worth remembering: mismatched polarity across power, data, and ground wiring is the most frequent cause of new segments failing to respond, even when the wiring itself is intact.
Keep a written record of every configuration change and a few photos of the finished zones. The next expansion goes faster when you’re not relying on memory.
What installers weigh when planning a lighting expansion
Having worked through hundreds of these expansions across the Capital Region, we’ve found that the homeowners who get the cleanest results are the ones who treat load planning and aesthetic matching as equally important. A system that lights up correctly but looks mismatched during the day undercuts the whole point of a permanent installation, and a system that looks seamless but overloads a transformer is a service call waiting to happen.
Professional planning also protects the parts of the system a homeowner can’t see: warranty terms, connector grade, and zone wiring that holds up for years rather than months. Many homebuyers notice permanent lighting when touring a home, which means an expansion done well adds to a house’s appeal long after the holidays that prompted it.
The honest trade-off is time versus certainty. A DIY expansion can work, but the margin for error on load calculations, polarity mapping, and weatherproofing is thin, and small mistakes there show up as dim sections or callbacks months later.
— Luis T
Let Capital Pro Lighting handle your permanent lighting expansion
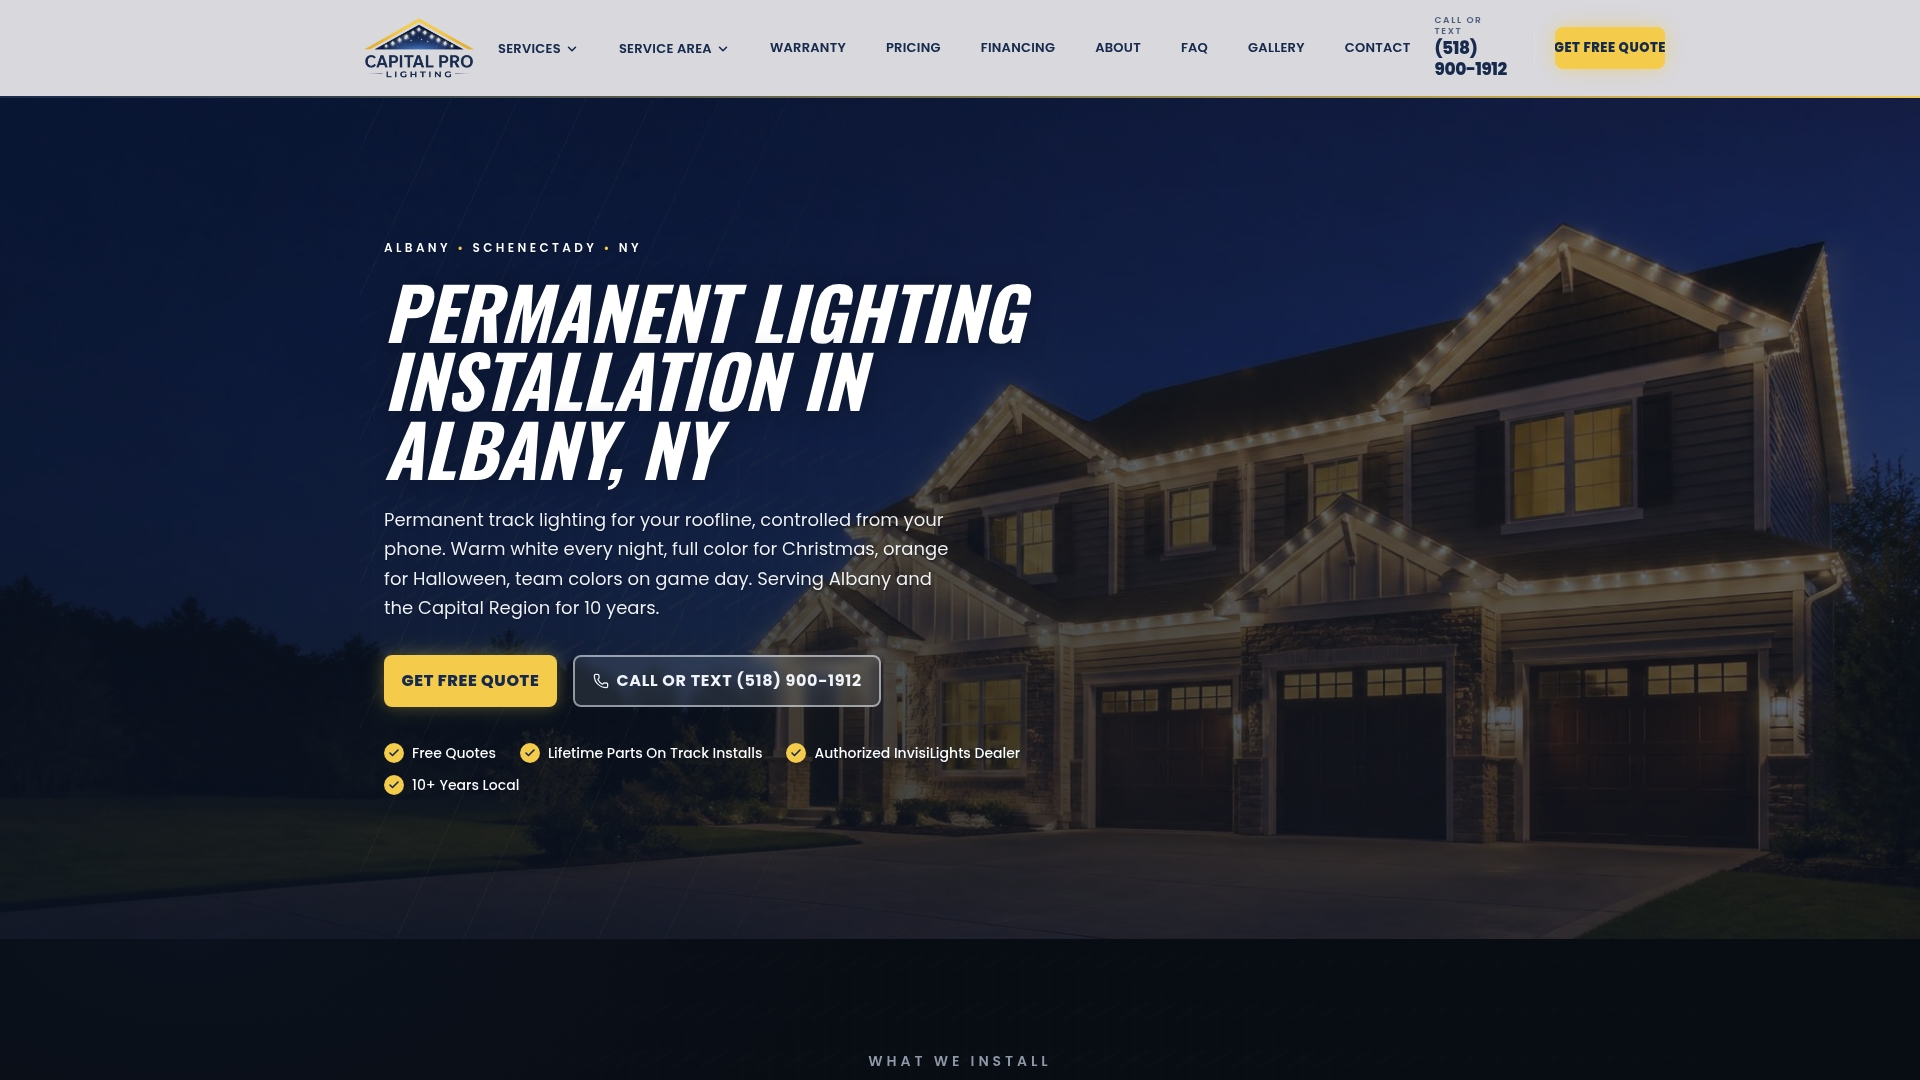
If the electrical math and mounting details above feel like more than you want to manage solo, we can handle the full expansion process for you, from load planning to final app configuration. We install both InvisiLights Track Mounted systems and InvisiClips trackless setups, both app-controlled for color and pattern changes, and every track installation carries a lifetime parts warranty.
On a site visit, we inventory your current system, plan zones and load capacity, recommend a mounting approach that matches your existing hardware, and leave you with a written estimate.
- Full system inventory and controller/power assessment
- Zone and load planning sized to your added fixtures
- Mounting recommendations matched to your current track or clip style
- Written estimate before any work begins
Get a quote through our permanent outdoor lighting page and we’ll schedule a visit.
FAQ
Can I add more lights to my existing permanent lighting system?
Most app-controlled permanent lighting systems can be expanded, but you need to confirm your controller’s maximum segment count and your transformer’s remaining capacity first. Once those check out, matching your existing track or clip style keeps the new section visually consistent with the old one.
How do I know if my power supply can handle new fixtures?
Compare the wattage of the new fixtures against your transformer’s rated capacity, including what’s already running on it. If the combined load exceeds that rating, plan for a second power supply rather than overloading the existing one.
Why aren’t my new lights syncing with the rest of the display?
The most common cause is an outdated light or segment count in the controller app, since the app needs the new total before it can address the added fixtures. If the count is correct and lights still don’t respond, check polarity mapping across the power, data, and ground wires.
Will expanding my system void my warranty?
Using matching, manufacturer-approved connectors, brackets, and wiring grades is the main way to keep warranty coverage intact during an expansion. Our track installations carry a lifetime parts warranty, which depends on original-grade materials being used throughout any added sections.
Do I need an electrician to expand permanent lighting?
Simple additions that tap into existing zones often don’t require one, but running a new dedicated circuit, pulling a permit, or opening an electrical panel does call for a licensed electrician. When in doubt, get sealed bids from vetted local electricians to compare options for the electrical portion of the work.
Recommended
Ready for a Brighter Home?
Free, no-pressure quotes across the Capital Region.
No obligation. Local installer. Same-day callback.
Reviewed by Capital Pro Lighting
Capital Pro Lighting installs permanent outdoor lighting, architectural lighting, and holiday lighting across Albany and New York's Capital Region. We install UL listed permanent lighting systems and have 10 years in business. More about our team.


