
GFCI, Permits, and When to Hire: Permanent Lights for Homeowners

GFCI, Permits, and When to Hire: Permanent Lights for Homeowners
Yes, homeowners can install permanent outdoor lights themselves if they follow GFCI protection rules, stick to manufacturer-approved mounting hardware, and understand where the National Electrical Code requires a permit. The decisive line is electrical: adding circuits, running new exterior wiring, or hardwiring a controller usually calls for a licensed electrician. This guide covers materials, planning, the installation steps, code compliance, and testing so you can decide which parts of the job you’re ready to handle.
TL;DR:
- Homeowners can install permanent outdoor lights themselves if they use GFCI protection, manufacturer-approved hardware, and avoid new wiring that requires a permit.
- Track systems are more concealed and cost more upfront, while trackless clips are simpler and less expensive but show more hardware.
- Proper planning involves measuring rooflines, confirming GFCI outlet capacity, and mocking up the layout to ensure even spacing and visuals before permanent installation.
- Most risks stem from overestimating ladder safety, using unlisted hardware, or skipping GFCI protection, making professional help advisable for complex or multi-story projects.
- Annual inspections should include re-sealing penetrations, replacing damaged parts, and updating firmware, with warranty proof and photos kept for troubleshooting.
Materials and tools you need for a permanent lights installation
Your first decision is track versus trackless. Track systems hide bulbs inside a continuous channel for a cleaner daytime look, while trackless clip systems snap individual bulbs onto the fascia and cost less upfront but show more hardware up close.
Beyond that choice, a few categories matter most:
- Lights: outdoor-rated LED strings or modules carrying a UL, ETL, or CSA listing label, which CPSC recommends for every outdoor string you buy.
- Power hardware: a weatherproof exterior receptacle, a smart controller or app hub, and either a portable GFCI adapter or a GFCI-protected circuit breaker.
- Mounting hardware: manufacturer-approved track or clips, stainless or coated screws that resist corrosion, and exterior-grade silicone sealant for any roof penetration.
- Tools: a fiberglass (non-conductive) ladder, a safety harness for steep or multi-story roofs, a cordless drill, wire strippers, and a multimeter for continuity checks.
Skipping the listing label or substituting generic brackets for manufacturer-approved hardware is where most DIY installs run into trouble later.
Planning and measuring your roofline before you drill
Walk the roofline first and measure eaves and fascia length with a tape measure or laser measure, marking clip or track spacing every 4 to 8 feet depending on the product’s flexibility and your home’s architecture, following professional outdoor lighting design and installation practices. Tighter spacing around corners keeps the light line smooth; wider spacing on straight runs saves hardware without losing the effect.
- Locate your nearest exterior GFCI receptacle and confirm it has enough breaker capacity for the full light run.
- Sketch the cable route from that receptacle to the start of your light run, minimizing crossings over walkways or windows.
- Estimate labor time: a single-story ranch with one roofline might take a weekend, while a multi-level home with dormers and multiple rooflines can take several days and usually benefits from a second set of hands.
- Rough out costs across three buckets: the lights and controller, the mounting system, and any electrician labor or permit fee if you’re adding a receptacle.
- Do a mock-up with temporary clips or painter’s tape to confirm spacing and sightlines from the street before committing to permanent fasteners.
Pro Tip: Take a photo of your temporary mock-up at dusk. Spacing that looks fine in daylight can read uneven once the lights are the only thing illuminating the roofline.
Step-by-step: mounting, wiring, and powering up
Once your layout is confirmed, work the project in stages rather than trying to finish one side of the house completely before starting the next.
Prep stage
- Clean the fascia or gutter edge where hardware will attach, removing dirt and old fastener holes.
- Check every light string’s UL/ETL/CSA label before it goes up, not after.
- Pre-cut track or lay out clip spacing along the full run using your measurements from planning.
Mounting stage 4. Install track or clips starting from one end, checking level every few feet rather than only at the finish. 5. Place fasteners into fascia or solid blocking, not into gutter lips, to avoid roof damage. 6. Seal every screw penetration and any wire entry point with exterior-grade silicone.
Wiring stage
- Use outdoor-rated cable rated for wet locations, never standard indoor extension cord.
- Join sections with weatherproof, gasketed connectors instead of twisted bare wire and electrical tape.
- Route cable along soffit returns or inside surface conduit where it will be visible, keeping exposed runs as short as possible.
Power connection 7. If plugging into an existing outdoor outlet, confirm it’s GFCI-protected; if it isn’t, use a portable in-line GFCI adapter rated for outdoor use. 8. If you’re adding a new exterior receptacle, that step is where most DIYers should stop and call a licensed electrician, since it typically means a GFCI breaker and a permit.
Controller and testing 9. Pair the app-based controller before final fastening, so you can still adjust a bracket if a zone doesn’t register. 10. Power one segment first and watch for flickering or uneven brightness before energizing the full run. 11. Press the GFCI test button on the device feeding your lights. It should cut power immediately; if it doesn’t trip, the device needs replacement before you proceed, following the same test CPSC recommends for seasonal lighting.
LED strings use significantly less energy than incandescent equivalents, with example use of a six-foot tree lit 12 hours a day for 40 days costing only a small fraction of incandescent lighting costs, according to the Department of Energy. For a full roofline run on year-round, that efficiency gap adds up quickly on your power bill.
Electrical code, permits, and GFCI rules you can’t skip
The National Electrical Code treats decorative lighting put up and taken down within 90 days differently from fixed, permanent installations, and that distinction drives most permit decisions. NFPA’s guidance notes that installing or changing permanent wiring commonly triggers inspection requirements and requires GFCI protection on outdoor receptacles, a rule that applies whether you’re adding a single outlet or a dedicated circuit for a controller.
Falls account for roughly a third of emergency department visits tied to holiday decorating that occur annually in the U.S.
That figure comes from a joint CPSC and NIST demonstration on decorating hazards, and it’s the clearest argument for a proper ladder, a spotter, and a harness on steep pitches rather than rushing a run before dark.
Manufacturer-approved brackets matter beyond convenience: using homemade mounting hardware can void a product’s UL listing, which affects both safety and insurance coverage if something goes wrong later. If your project involves a new exterior receptacle, altered service panel capacity, or a hardwired controller, that’s the point to bring in a licensed electrician and pull a permit rather than guess at code compliance.
Testing, troubleshooting, and keeping the system running
Before you call the job finished, run through a short verification sequence: trip the GFCI to confirm it cuts power, power each segment individually, then check continuity and voltage at a few connection points with a multimeter, and finally confirm every zone responds correctly in the app.
Common problems and their usual fixes:
- Water inside a connector: re-seat it with a fresh weatherproof gasket and reseal with silicone.
- A clip or track section pulling loose: check for a missed stud or blocking point and add a fastener.
- A segment that won’t power: look for a loose crimp or a bad splice before assuming the bulb failed.
- Controller won’t pair: reset the hub and re-pair zones one at a time rather than all at once.
Pro Tip: Photograph every connection point and label before you seal it. If a warranty claim or troubleshooting call comes up later, those photos save a repeat ladder trip.
Plan on an annual inspection each fall: re-seal any penetration that looks weathered, swap damaged sockets or cords, and keep the controller’s firmware updated. Keep your receipts and installation photos together since most manufacturer warranties ask for proof of purchase and installation date.

What ten years of local installs teach about DIY versus professional work
Luis T has spent years writing about home electrical projects and outdoor lighting for homeowners deciding how far to take a project themselves. That perspective, paired with real installation patterns, points to a simple rule: DIY works well for straightforward single-story rooflines with an existing GFCI outlet nearby, and gets riskier fast once a second story, a complex roofline, or new wiring enters the picture.

We specialize in permanent outdoor lighting installations that let homeowners change roofline colors from their phone, which removes the seasonal cycle of climbing ladders and untangling strings every November. Our track installs carry a lifetime parts warranty, and we use custom 3D-printed brackets for a cleaner finish than off-the-shelf clips typically allow. Over 10 years serving Albany and the Capital Region has shown us that the DIY route makes sense for small, simple runs, while multi-level homes, new circuits, or anyone who wants app control and a warranty are usually better served calling a pro.
Where DIY lighting advice gets it wrong
Most DIY guides treat permanent lighting like a weekend string-light job with slightly better hardware, and that’s the gap that causes problems. Stringing holiday lights for three weeks and running a permanent, weatherproof system for years are different engineering problems: one needs to survive a season, the other needs to survive freeze-thaw cycles, UV exposure, and constant on-off switching for a decade.
The conventional advice to “just use outdoor-rated everything” skips the harder question of whether your existing exterior circuit can handle a permanent load running daily, and whether your roofline’s pitch makes ladder work genuinely safe to do alone. Falls make up over a third of holiday decorating injuries for a reason: people treat a ladder job as quick and skip the spotter or harness step.
If you take one thing from this guide, prioritize the electrical boundary first, not the aesthetic one. Get the GFCI protection, the listed hardware, and the permit question settled before you worry about spacing or color temperature. A well-wired, slightly imperfect light line beats a beautiful one wired incorrectly.
— Luis T
Thinking about letting a pro handle your permanent lighting install?
If your roofline has multiple stories, steep pitches, or you’d rather skip the permit paperwork for a new circuit, that’s exactly when a professional install pays for itself. 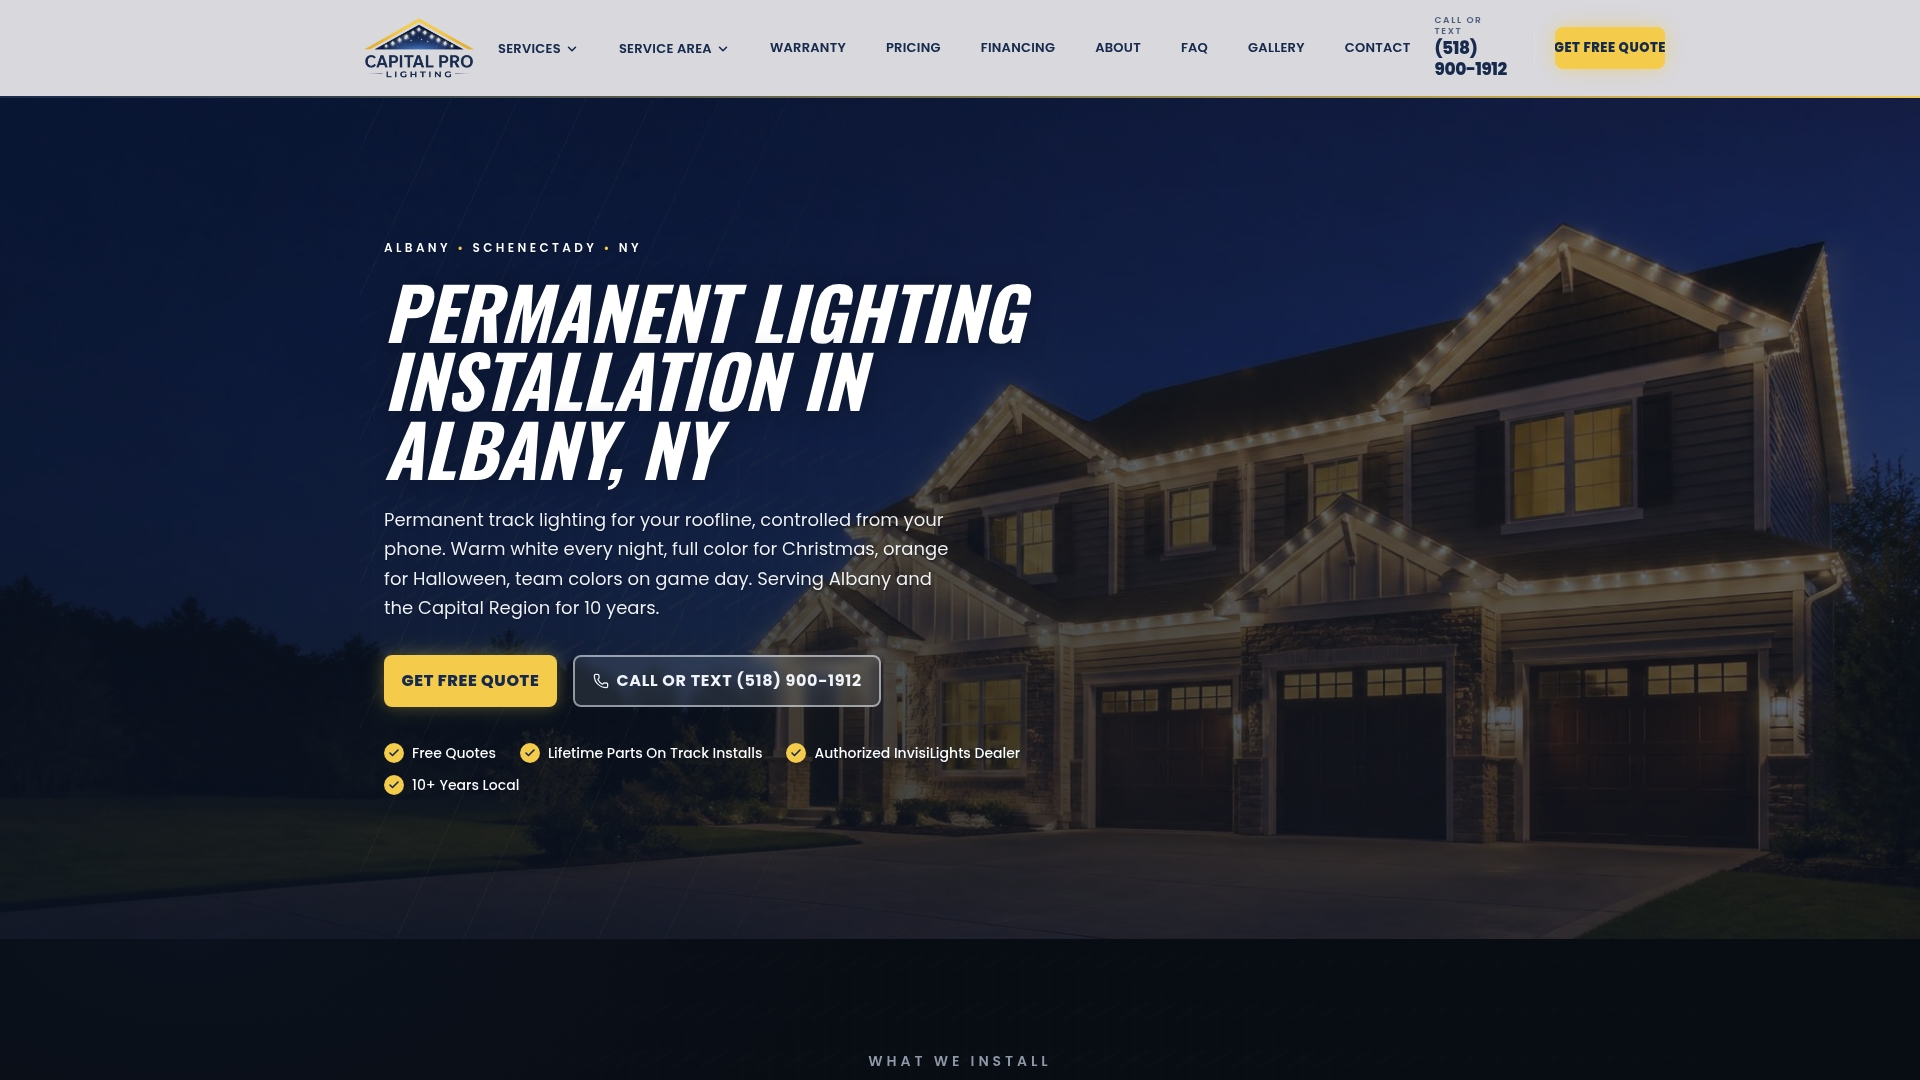
We offer track mounted systems with app-based color control and a lifetime parts warranty on every track install, along with trackless clip options for a lighter-touch finish. Check our pricing and packages or get a free site visit to see what a permanent install looks like on your home.
FAQ
Can you install permanent lights yourself?
Yes, many homeowners install permanent lights themselves on straightforward, single-story rooflines using manufacturer-approved track or clips and an existing GFCI-protected outlet. Projects that need a new circuit, additional exterior receptacles, or hardwired controllers are safer left to a licensed electrician.
How much does it cost to have someone install permanent lights?
Professional permanent lighting pricing varies by system type: track-mounted systems like InvisiLights start from 2500 USD one-off, while trackless clip systems start from 2000 USD one-off. Final cost depends on roofline length and complexity, so a site visit or quote request gives the most accurate number.
How far away from the house should permanent lights be installed?
Spacing depends on the product, but most manufacturers recommend placing clips or track mounts every 4 to 8 feet along the fascia or eave to keep the light line even. Tighter spacing works better around corners and uneven roof sections, while straight runs can use wider spacing without losing a smooth look.
What are common mistakes people make installing permanent lights?
The most common mistakes are using non-rated extension cords or unlisted light strings, skipping GFCI protection on outdoor receptacles, and attaching homemade brackets that can void a product’s UL listing. Rushing ladder work without a spotter or harness also contributes heavily to the falls that make up roughly a third of holiday decorating injuries, according to CPSC and NIST.
Do permanent outdoor lights need a permit?
A permit is typically triggered when you add new permanent wiring, a new exterior receptacle, or a hardwired controller rather than plugging into an existing GFCI outlet. NFPA guidance notes that changes to permanent wiring commonly require inspection, so check with your local building department before altering your circuit.
Sources
Recommended
Ready for a Brighter Home?
Free, no-pressure quotes across the Capital Region.
No obligation. Local installer. Same-day callback.
Reviewed by Capital Pro Lighting
Capital Pro Lighting installs permanent outdoor lighting, architectural lighting, and holiday lighting across Albany and New York's Capital Region. We install UL listed permanent lighting systems and have 10 years in business. More about our team.


