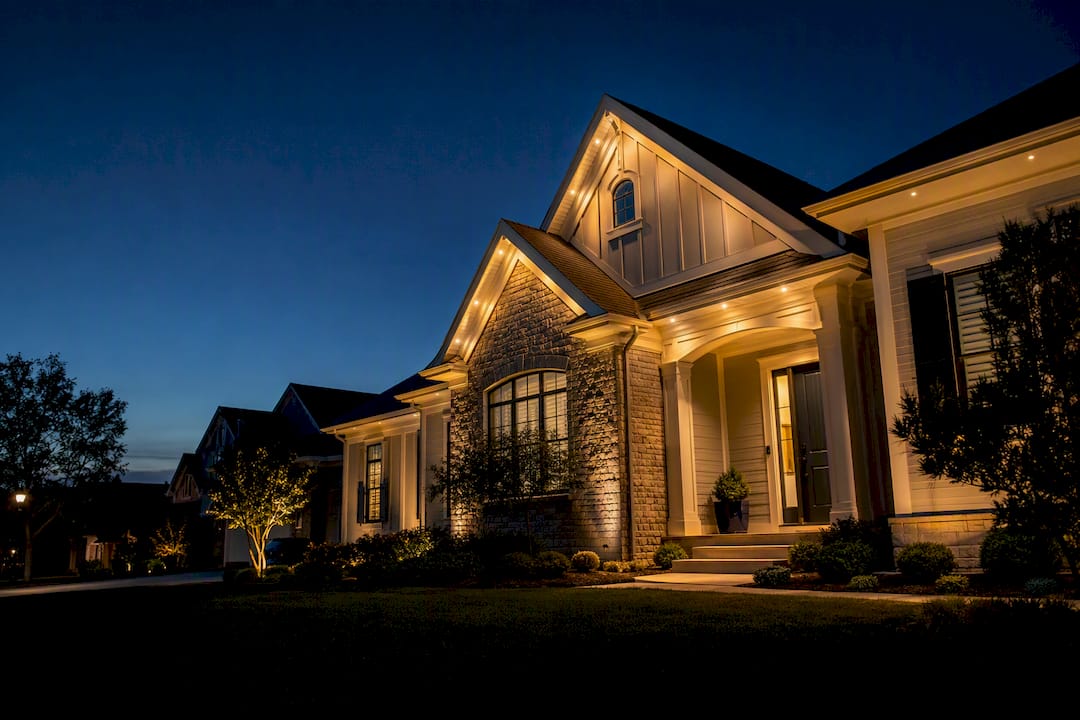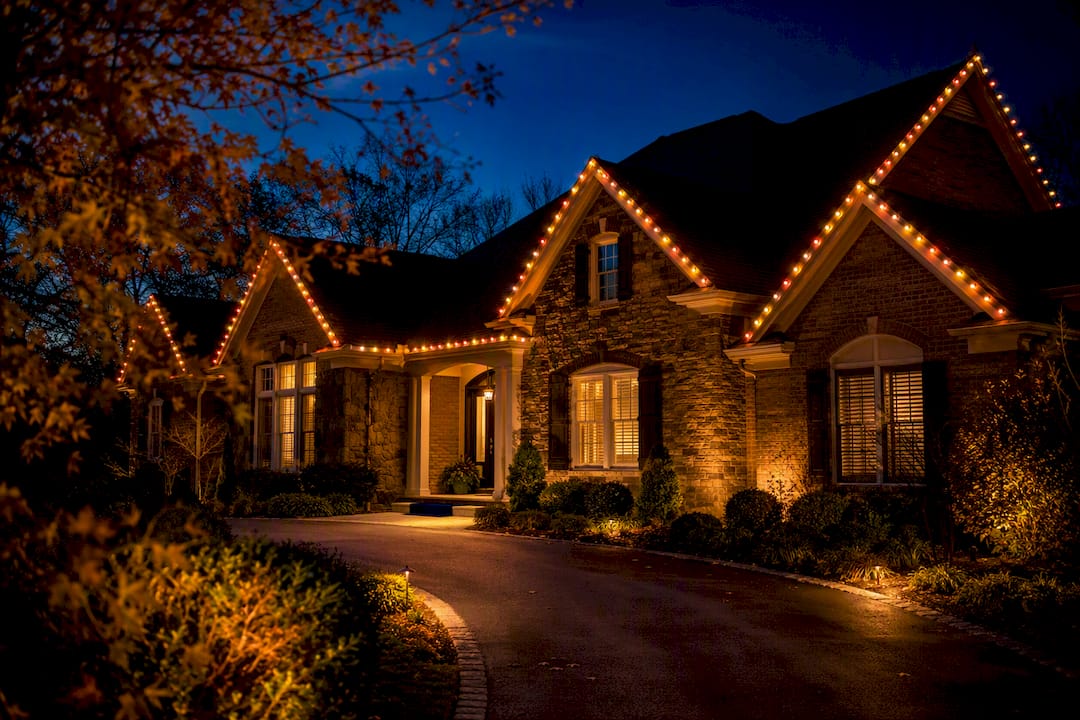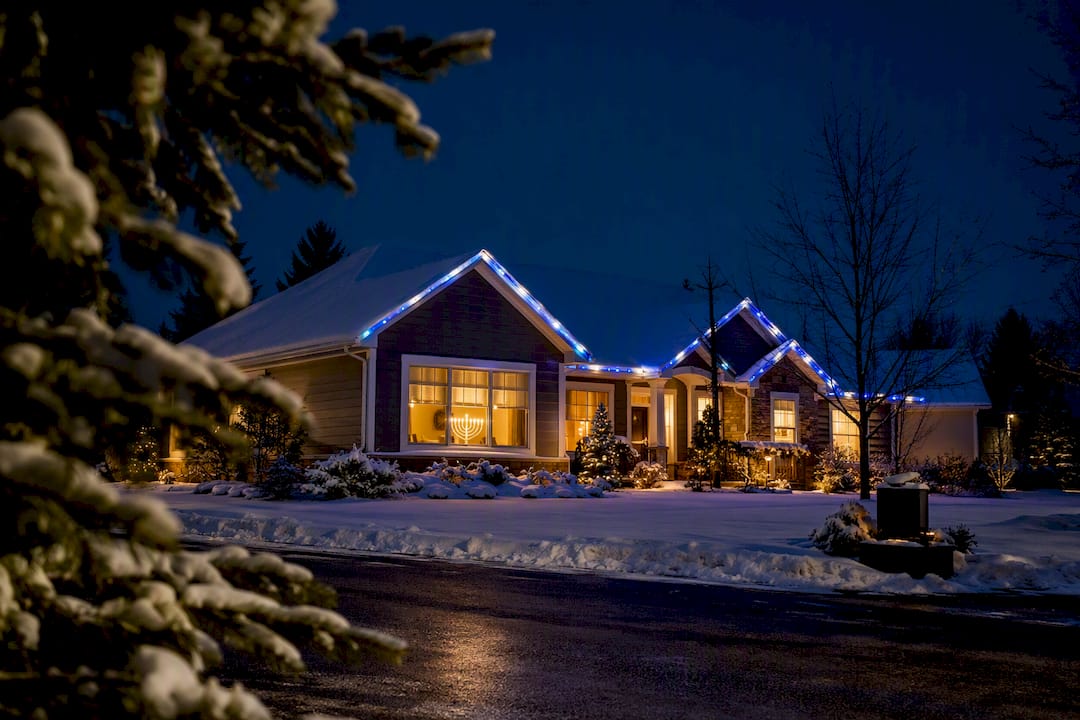
2–6 Week Permanent Lighting Timeline for Capital Region Homeowners
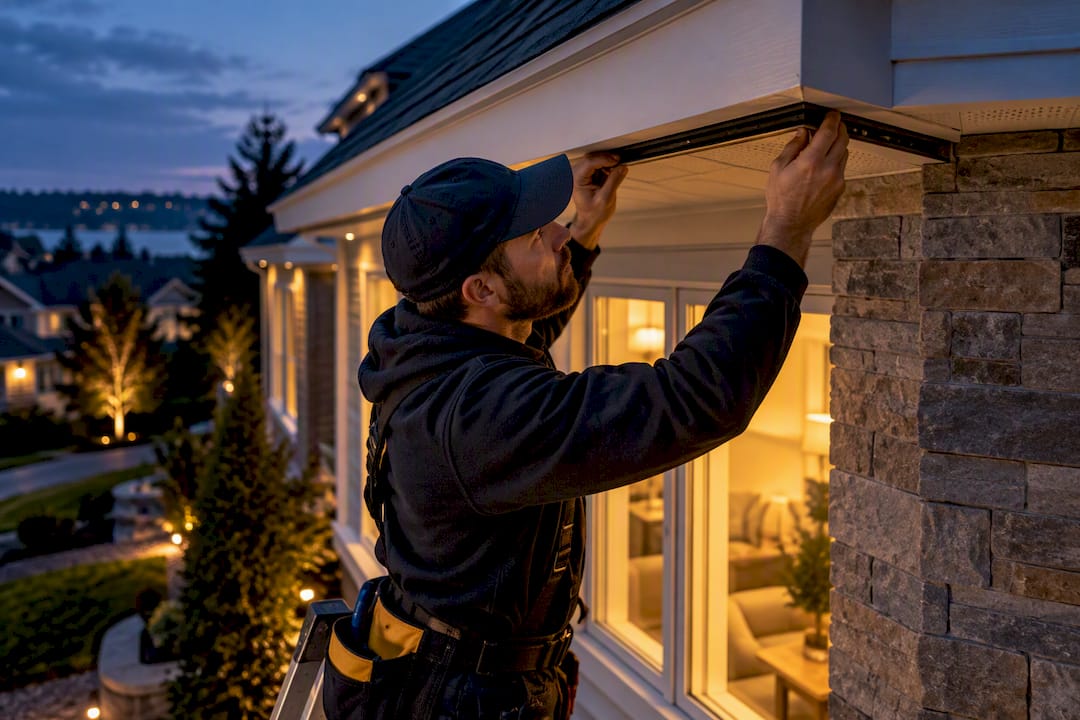
2–6 Week Permanent Lighting Timeline for Capital Region Homeowners
Most permanent outdoor lighting projects run several weeks from first phone call to final commissioning, with design and electrical prep as the two phases most likely to stretch that window. A single-elevation home often wraps in a couple of weeks; a full-property estate job with panel upgrades can take longer than that. Book your consultation early in spring or fall, when weather and installer demand often peak.
TL;DR:
- Electrical work, especially panel upgrades or new circuits, can add two weeks or more to the project timeline, often being the biggest delay factor.
- Site prep steps like clearing, grading, and infrastructure checks are essential to avoid hidden issues that can prolong install days or cause delays during mounting.
- Permit approval times vary by municipality and should be incorporated into planning, with early permit submission preventing last-minute schedule disruptions.
- House size and roofline complexity determine the install duration, with small projects often completing in a week and estate jobs requiring over a month.
- Booking in early spring or fall, scheduling electrical work upfront, and considering phased installations help manage delays caused by weather, access, or demand.
How Long Does a Permanent Lighting Installation Timeline Take?
Every permanent lighting installation timeline breaks into four phases, and each one has its own rhythm.
- Design and quote (1 to 5 days): A remote design using photos and measurements can turn around a quote in a day or two. An on-site visit takes longer to schedule but produces a more accurate plan, especially on homes with multiple rooflines or dormers.
- Electrical prep (0 days to 2 weeks): If your home already has an accessible outdoor outlet near the roofline, you can skip this step. If you need a new circuit, a GFCI outlet, or a panel upgrade, you’re waiting on an electrician’s calendar, which is often the single biggest swing factor in the schedule.
- Installation days (1 to 5 days): Crews measure, run cable along the fascia or roofline, attach mounting hardware, and wire zones. Smaller homes wrap in a single day; larger or multi-elevation properties need two or three separate visits.
- Commissioning (half a day, sometimes bundled into the last install day): This covers nighttime aiming, pairing the app, mapping zones, and walking the homeowner through the controls.
Manufacturer guidance recommends testing every assembly on the ground before it goes up, which is why reputable installers build commissioning as its own separate check rather than something rushed at the end of a long install day.
What Happens During Each Phase of Installation?
A permanent fixture timeline has real decision points where a homeowner’s answer either keeps things moving or adds a week.
- Design consultation. The installer measures your rooflines, gables, and returns, then maps where zones will start and stop. Accuracy here matters more than most homeowners expect: a quote based on a rough guess at footage almost always changes once someone measures the actual runs, peaks, and transitions.
- Site prep and electrical coordination. This is where permits get pulled if your municipality requires one, and where any new outlet or GFCI circuit gets scheduled. If your project needs an electrician, loop them in as early as possible, since their calendar usually runs on a longer lead time than the lighting crew’s.
- Mounting and wiring. Crews attach channel or clips along the roofline, route cable through transitions, and stage ladders or a lift depending on your home’s height. This is the most labor-intensive stage and the one most sensitive to weather.
- Commissioning and handoff. The installer pairs the system to your phone app, labels each zone, performs nighttime aiming so the light angles look right from the street and your yard, and hands over warranty paperwork.
Pro Tip: Ask your installer to walk through the app with you in person rather than sending a setup link. Zone names and color presets are much easier to get right when someone shows you the first time.
How Long Should You Budget by Project Size?
Duration scales with roofline length, elevation count, and how much electrical work is involved, not just square footage of the house.
- Small projects (a single front roofline): usually one crew day, with a lead time of one to three weeks from your first call to install.
- Medium projects (multiple elevations or a wraparound porch): typically one to two crew days, with two to four weeks of lead time.
- Large or estate projects (full-perimeter lighting, multiple rooflines, possible lift access): often two to three or more crew days, with four or more weeks of lead time recommended.
- Phased installs: start with the most visible run, like the front elevation, and add side and rear rooflines later. This spreads the cost over time and is a legitimate strategy when the original control plan supports future expansion without rewiring what’s already up.
Cost tracks size too. A focused single-elevation project commonly runs $2,000 to $4,500, while larger homes with more roofline and more zones often land between $4,500 and $8,000 or higher.
What Delays a Permanent Outdoor Lighting Project?
A handful of factors account for almost every schedule slip on a lighting installation timeline, and most are avoidable with a little lead time.
- Electrical scope. Needing a new circuit or panel work adds an electrician’s schedule on top of the lighting crew’s, and that’s frequently the longest single wait in the whole process.
- Height and access. A two-story home with steep gables may need lift scheduling instead of extension ladders, which can push installation into a separate visit.
- Weather and seasonality. Rain, ice, and high wind halt roofline work outright, and spring and fall are the busiest booking windows for most installers, which stacks calendars further.
- Design complexity. More zones, more transitions, and mixed rooflines and gables all add time to both the design and mounting phases.
- HOA or permit review. Some municipalities and homeowner associations require sign-off before work starts, and that review adds its own waiting period.
Installers generally recommend booking your design consultation three to four weeks ahead during peak season, which gives enough buffer to absorb one weather delay without losing your target date entirely.
What Should Homeowners Prepare Before Install Day?
A short list of homeowner decisions, made before the crew shows up, keeps the schedule for lighting setup on track.
- Confirm access and staging space. Clear a spot near the driveway or side yard for ladders, cable spools, and tools, and make sure parking won’t be an issue for the crew’s vehicle.
- Pick your channel color and mounting look. Deciding on a color-matched or discreet finish ahead of time avoids an on-site debate that stalls the crew mid-install.
- Schedule any electrician visits first. If your project needs new power, get that done before your install date is locked in, not the same week.
- Have your Wi-Fi details ready and pick who’ll run the app. Commissioning goes faster when one household member is designated to pair the app and learn the zone controls during the walkthrough.
Homeowners coordinating exterior work more broadly can borrow a similar mindset from general contractor prep advice, which applies just as well to lighting crews as it does to roofing jobs: clear access and clear decisions save time on every visit.
How Capital Pro Lighting Structures a Typical Install
Capital Pro Lighting has spent over 10 years installing permanent lighting across the Capital Region, which means local crews already know the roofline styles and permitting quirks common to homes in Albany, Delmar, and the surrounding towns. That local familiarity tends to shave days off the design phase compared to a first-time regional entrant.
Phone-controlled color-change systems remove a recurring source of seasonal scheduling headaches: no separate crew visit for holiday lights, no ladder trip to swap bulbs before a party. Track installs may offer lifetime parts warranties, and some use custom 3D printed brackets for a clean finish instead of generic clips. A typical project moves from design consultation to install days to a final nighttime aiming and app walkthrough, with the homeowner present for that last step so the controls make sense from day one.
How Do You Plan Routes, Power, and Zones Before Installation?
Planning happens before a single bracket goes up, and it’s the phase that prevents mid-project surprises.
Route mapping means walking the roofline on paper (or with the installer during a site visit) and breaking it into segments: straight runs, peaks, gables, and the tricky transitions where two rooflines meet. Manufacturer guidance recommends drawing this to scale before ordering anything, because footage alone doesn’t tell you how many corners or elevation changes a run has to navigate.
Power mapping comes next. Permanent lighting kits are built in fixed lengths, commonly in the 100 to 300 foot range, and most systems need an additional power supply roughly every 300 feet of run. A house with 450 feet of roofline isn’t a simple one-kit purchase. It needs at least two power points planned into the design, and figuring that out before ordering avoids a mismatched order and a return trip.
Zone planning is where the homeowner’s preferences actually shape the system. Do you want the porch to run separately from the garage? Should the back patio have its own control so it doesn’t turn on when you’re only lighting the front for guests? These decisions get baked into the app’s zone map long before commissioning, and changing them later is far more work than deciding upfront.
What Does a Sample Week-by-Week Timeline Look Like?
A concrete example makes the abstract phases easier to picture. Here’s a realistic path for a medium-sized home with two elevations and no major electrical work needed.
Week 1: You request a quote, send photos or schedule an on-site visit, and receive a design proposal with a rough zone map. Week 2: You approve the design, pay a deposit, and the installer orders kit lengths and hardware sized to your actual measurements. Week 3: Install day one covers the front elevation. Crews attach mounting hardware, run cable, and connect the first zone’s power supply. Week 3, second visit: A second crew day (sometimes the next morning, sometimes a few days later depending on the calendar) finishes the side elevation and ties both zones into a single control hub. Week 4: Commissioning happens on a clear evening. The installer performs nighttime aiming, pairs the app, labels your zones, and walks you through the controls before handing off warranty documentation.
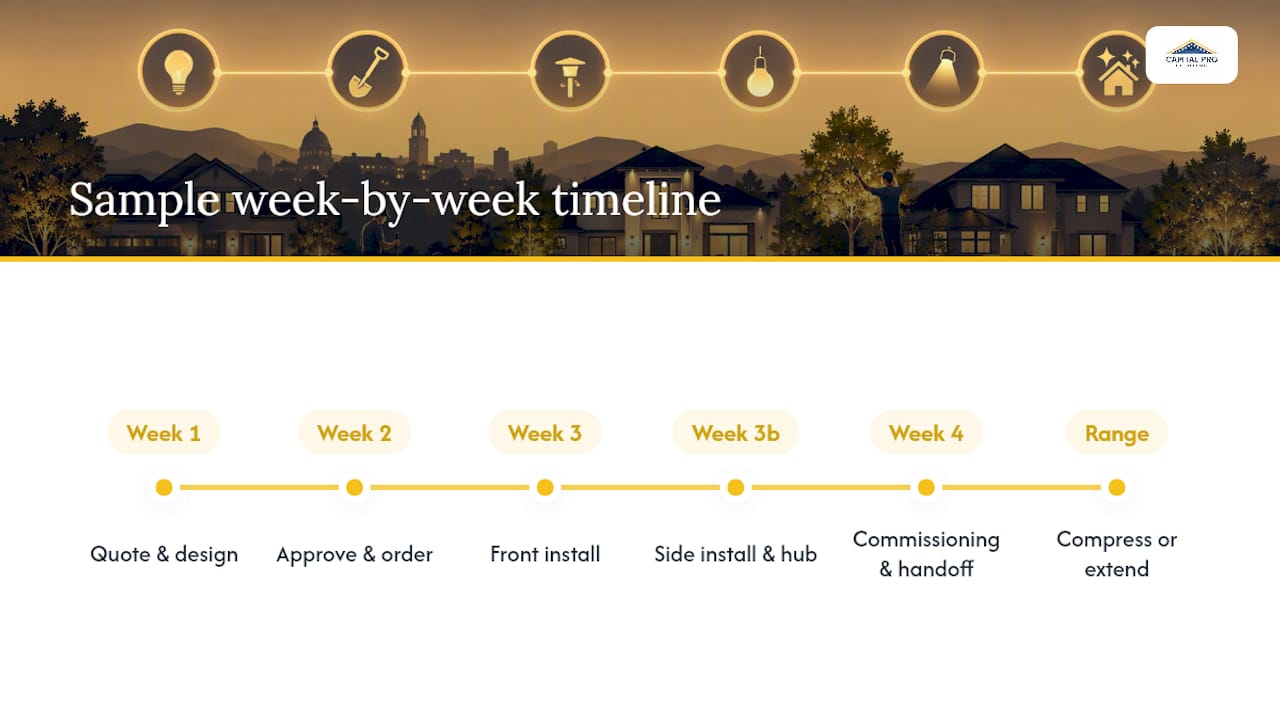
A smaller single-roofline project can compress weeks two through four into a single week. A larger estate job with a lift and panel upgrade can stretch each of these steps into its own separate week, pushing total time closer to five or six weeks.
What Site Prep Happens Before Crews Arrive?
Before anyone touches a ladder, a proper site assessment checks three things: clearing, grading, and existing infrastructure.
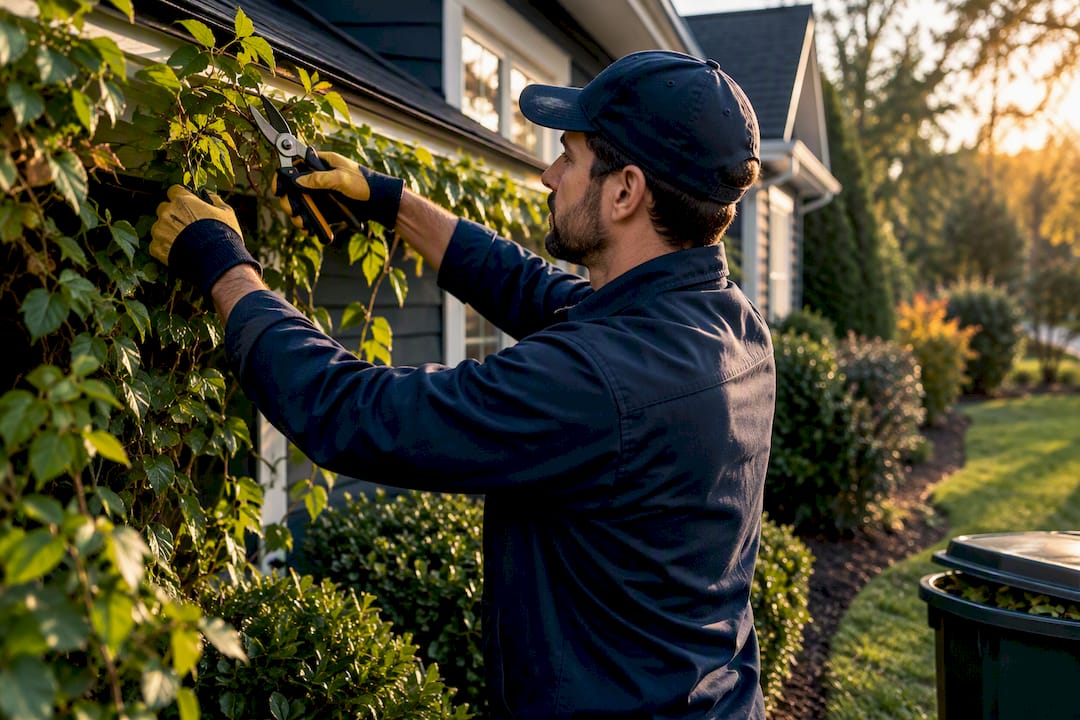
Clearing means trimming back shrubs, vines, or tree limbs that touch the roofline where lighting will run. Overgrown gutters or fascia boards covered in growth slow down mounting and can hide damage that needs fixing first. Grading matters mostly for ladder and lift stability. Uneven ground near the foundation, especially after a wet spring, can force a crew to reposition equipment or wait for drier conditions.
The existing infrastructure check is the most important of the three. This is where the installer confirms whether your current outdoor outlets are GFCI-protected, whether your electrical panel has room for an added circuit, and whether your fascia and soffit are solid enough to hold mounting hardware without extra reinforcement. Homes with aluminum or vinyl trim sometimes need a slightly different bracket approach than homes with solid wood fascia, and catching that during assessment avoids a surprise on install day. Skipping this step is the single most common reason a lighting installation timeline runs longer than quoted, because problems that should have surfaced during planning instead surface halfway through mounting.
How Do Permits Affect the Installation Schedule?
Not every jurisdiction requires a permit for permanent roofline lighting, but where one is needed, it becomes part of the critical path rather than a background task. Permit review timelines vary widely by municipality. Some approve straightforward low-voltage lighting permits within days; others take two to three weeks, especially if a new electrical circuit is part of the scope.
The impact on your overall permanent outdoor lighting project depends on when the permit gets submitted. Installers who fold permit applications into the design phase, rather than waiting until after the quote is approved, avoid the worst-case scenario: a crew ready to install with no legal clearance to start. If your municipality or HOA has design review requirements on top of electrical permitting, build that extra week or two into your expectations from the start rather than treating it as a surprise delay later.
How Do You Handle Delays Without Losing the Whole Schedule?
Delays happen on almost every outdoor project, and the difference between a minor hiccup and a blown timeline is usually how much buffer was built in from the start.
The simplest contingency is sequencing: schedule electrical work and permit submissions before you lock in an install date, not in parallel with it. If a permit takes an extra week, that week absorbs into the front end of your timeline instead of pushing your install date at the last minute. Weather delays work differently. A rained-out install day usually gets rescheduled to the next available slot, which during peak season might be a week or more away rather than the next day. Building a few days of slack into your target completion date, especially if you’re aiming for a specific event, protects against this.
For homeowners on a tighter budget or uncertain about total scope, phasing the project is itself a form of contingency planning. Installing the front elevation now and adding the sides or rear later means a weather delay or budget crunch affects only the current phase, not the entire property. The key is confirming with your installer that the initial control system supports adding zones later without a rewire, so your phased approach doesn’t turn into a redesign down the road.
An Installer’s Take on Realistic Scheduling
Homeowners consistently underestimate how much a measured design changes the numbers versus a rough footage guess. Two houses with the same square footage can need very different zone counts once someone actually walks the roofline. Book your consultation early in spring or fall, accept that one weather delay is likely, and if you’re not sure about budget or full-property coverage, start with the most visible elevation and expand later. A phased plan beats a rushed, oversized one almost every time.
— Luis T
Ready to Get a Quote for Your Own Timeline?
Capital Pro Lighting is the alternative to seasonal ladder work and rented holiday crews. Once your permanent system is installed, changing colors for a birthday, a game day, or the holidays takes a few taps on your phone instead of another trip up a ladder.
Getting an accurate quote starts with a few basics: your address, a couple of photos of your rooflines, and a sense of which elevations matter most to you. Capital Pro Lighting offers both InvisiLights Track Mounted and InvisiClips trackless options, starting from $2,500 and $2,000 respectively for the initial install, plus seasonal Christmas light installation and financing for homeowners who’d rather spread out the cost. Most design consultations turn around a quote within a few days of that first conversation. If you’re in the Capital Region and ready to see what a realistic timeline looks like for your own home, request a design consultation through Capital Pro Lighting’s permanent outdoor lighting page and get a real date on the calendar instead of a guess.
Sources
- How to Plan Your Permanent Outdoor Lights Installation: Layout, Power, and Mounting guide
- Permanent Outdoor Lighting Cost (2026) | Brightify
- Outdoor Lighting Installation: The Complete Homeowner’s Guide (2026) | Fireflies Landscape Lighting
FAQ
How Long Does a Permanent Lighting Installation Timeline Take?
Most projects run two to six weeks from the first design call to final commissioning, with electrical prep and design accuracy as the biggest swing factors. Small single-elevation homes often finish closer to the two-week mark, while larger estate projects can stretch past a month.
How Many Days Does the Actual Installation Take?
Crew time on-site ranges from one day for a small single roofline to two or three days for a larger or multi-elevation home. Commissioning, including app pairing and nighttime aiming, is usually a half day tacked onto the final install visit.
Does Weather Really Delay Installation?
Yes. Rain, ice, and high wind stop roofline mounting work outright, and rescheduled dates during peak season can be a week or more out rather than the next available day.
What Does Capital Pro Lighting Charge for a Permanent System?
InvisiLights Track Mounted installs start from $2,500, and the InvisiClips trackless option starts from $2,000, both one-time costs. Exact pricing depends on roofline length and zone complexity, so a design consultation is the fastest way to get a firm number.
When Should You Book to Avoid the Busiest Season?
Book your design consultation three to four weeks ahead if you’re targeting spring or fall, since those months see the heaviest installer demand. Booking outside peak season generally shortens your wait for both design and install dates.
Recommended
Ready for a Brighter Home?
Free, no-pressure quotes across the Capital Region.
No obligation. Local installer. Same-day callback.
Reviewed by Capital Pro Lighting
Capital Pro Lighting installs permanent outdoor lighting, architectural lighting, and holiday lighting across Albany and New York's Capital Region. We install UL listed permanent lighting systems and have 10 years in business. More about our team.