Dimmable vs Non-Dimmable: 4 Homeowner Checks to Avoid Flicker

Dimmable vs Non-Dimmable: 4 Homeowner Checks to Avoid Flicker
Choose dimmable bulbs when you want adjustable brightness for mood or task lighting, and choose non-dimmable when the fixture never needs anything but full, steady light. Dimmable bulbs cost more but let you set the room’s ambiance; non-dimmable bulbs are simpler and usually cheaper. The catch: a “dimmable” label doesn’t guarantee smooth performance on every switch, so check compatibility before you buy.
TL;DR:
- Dimmable LED bulbs require compatible drivers that can read dimmer signals, and a mismatch often causes flicker, buzz, or incomplete dimming.
- ENERGY STAR certification confirms the bulb can dim smoothly to at least 20% without flickering, but compatibility still depends on specific switch and transformer types.
- Using dimmable bulbs in outdoor fixtures with transformers or enclosed housings increases flicker and performance issues, making system-level solutions preferable.
- Checking manufacturer compatibility links and testing bulbs in the actual fixture is essential before committing to a full setup.
- Permanent outdoor lighting systems controlled via apps eliminate dimmer compatibility concerns, providing reliable brightness and scene control over traditional bulb-and-dimmer arrangements.
Dimmable vs Non Dimmable: What Actually Separates Them
Every LED bulb runs on a driver, the small electronic circuit that converts your home’s AC current into the low, steady DC power an LED chip needs. A non-dimmable bulb’s driver does one job: deliver a fixed output. A dimmable bulb’s driver is built to read a dimmer’s signal, usually a phase-cut waveform, sometimes a 0-10V or digital control signal, and scale its output up or down in response.
That distinction matters more with LEDs than it ever did with incandescent bulbs. Old-style incandescent filaments are a simple resistive load. Cut the voltage, and the filament dims smoothly and predictably every time. LED drivers are non-linear electronics. Feed one a chopped-up waveform it wasn’t designed for, and it can flicker, stall at the top of its range, or refuse to dim at all.
That’s why the packaging matters more than the word “dimmable” printed on it:
- Look for an ENERGY STAR certification, which requires independent testing to confirm the bulb dims to at least 20% of full brightness without excessive flicker.
- Check for a stated dimming range and any listed warranty terms, since manufacturers vary widely in what “dimmable” actually promises.
- Treat the word “dimmable” as a starting point for research, not a guarantee the bulb will work smoothly on your specific dimmer.
Why Dimming Fails: Flicker, Humming, and Dead Zones
Most dimming complaints trace back to one thing: a mismatched handshake between the LED driver and the dimmer switch. The dimmer chops the waveform a certain way, the driver expects a different pattern, and the result is flicker, a pop-on delay, a sudden drop-out at low levels, or an audible buzz from the dimmer itself.
Phase-cut dimmers come in two flavors, and the difference matters. Forward phase-cut (often called leading-edge or TRIAC) dimmers were built for incandescent and halogen loads. Reverse phase-cut, or ELV (electronic low voltage), dimmers were designed later with electronic loads in mind. Pairing the wrong type with an LED driver is a leading cause of the flicker and buzz homeowners report, and DOE-backed testing confirms that dimmers built for incandescent loads don’t reliably control LED sources.

Low-voltage fixtures add another layer of complexity. Track lighting, recessed cans, and MR16-style bulbs typically run through a transformer, either magnetic low-voltage (MLV) or electronic low-voltage (ELV). Mismatch the transformer type with the dimmer, and you can get flicker, a visible color shift as the light dims, humming, or a fixture that simply won’t turn on. The Department of Energy’s guidance on MR16 lamps notes that in many retrofit cases, swapping the transformer, or replacing the whole fixture with an LED-native luminaire, solves the problem faster than cycling through different bulbs.
Dimmer capacity is the other overlooked variable. LED loads draw a brief inrush current when they switch on, and a dimmer rated for incandescent wattage may not handle that surge cleanly, especially when several dimmers share one wallbox. In that scenario, de-rating or replacing the dimmer with an LED-rated model usually clears up the issue.
- Flicker and pop-on delay: usually a phase-cut mismatch between dimmer and driver.
- Buzzing or humming: often the dimmer itself, not the bulb, straining against an LED load it wasn’t built for.
- Won’t dim below a certain point: a low-end trim issue or a transformer minimum-load problem.
- Won’t turn on at all: check transformer type on low-voltage runs before assuming the bulb is defective.
Where Dimmable Makes Sense and Where It’s Overkill
Not every fixture in the house needs a dimmer, and buying dimmable bulbs for a space that never changes mood is money spent on a feature you’ll never touch.
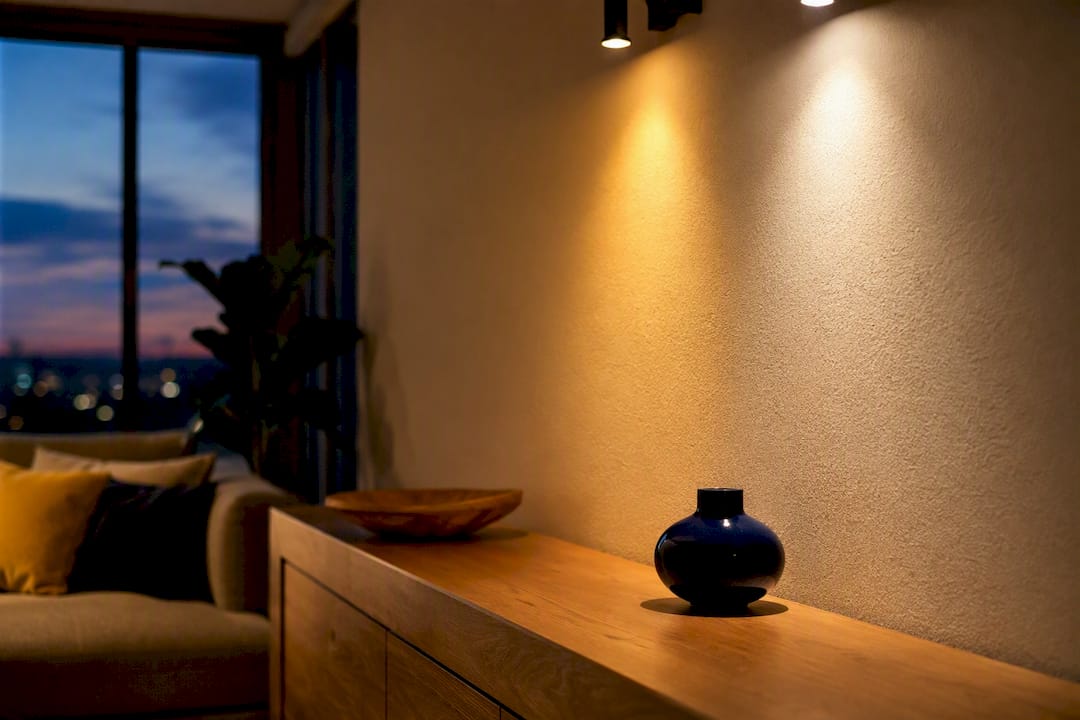
- Living rooms and dining rooms. These are the rooms where lighting needs shift throughout the day, movie night versus dinner party versus reading in the corner, so dimmable bulbs earn their higher price tag here.
- Bedrooms. A dimmable bulb lets you wind down at night without the harsh full-brightness jolt, and it’s one of the more underrated dimmable lighting advantages for anyone who reads in bed.
- Multi-use or layered spaces. Kitchens with an island and a dining nook, home offices that double as guest rooms, anywhere the lighting job changes by the hour.
- Closets, garages, and utility rooms. These fixtures do one job, full brightness, on demand, so non-dimmable bulbs are the simpler and cheaper call.
- Outdoor and permanent lighting. Retrofitting dimmable bulbs into weatherproof outdoor fixtures is where things get messy fastest, thanks to transformers, exposure, and inconsistent dimmer compatibility. A system built for scene and color control from the start avoids the retrofit gamble entirely.
Checking Compatibility Before You Buy (or Before You Call an Electrician)
Guessing is the expensive way to solve a dimming problem. A short pre-purchase check saves a return trip to the hardware store and, in some cases, a service call.
- Read the packaging and pull up the manufacturer’s compatibility tool. Brands like Leviton publish tested bulb-and-dimmer combinations online, and running your exact model through their compatibility resources cuts out most of the guesswork before you spend a dime.
- Buy one bulb and mock up the real circuit. Install it in the actual fixture on the actual dimmer and run it from full brightness down to the lowest setting. Watch for flicker, listen for buzz, and note where dimming stops working. Full-circuit mockups are the single most reliable way to confirm a combination will behave in your home, not just on a spec sheet.
- Adjust the low-end trim, or swap in an LED-rated dimmer. Many dimmers have a small trim wheel behind the faceplate that raises the minimum dimming level to a point where the driver stays stable. If trim adjustments don’t fix it, look for a dimmer carrying NEMA SSL-7A or LED-rated specifications.
- On low-voltage fixtures, confirm the transformer type and minimum load. MLV and ELV transformers behave differently with LED loads, and an underloaded transformer is a common cause of flicker or failure to light. Replacing the transformer, or the fixture, often resolves it for good.
Pro Tip: Keep the receipt and the bulb’s box until you’ve finished the mockup test. Most retailers won’t take a return once you’ve written on the packaging, but a two-week trial period on a single bulb is far cheaper than buying a whole case that flickers.
Installation Details That Affect Safety and Performance
A few wiring and fixture details shape how well dimming performs over the long run, and they’re worth knowing before you start swapping parts yourself.
- Multiple dimmers sharing one wallbox often need de-rating, since combined LED inrush current can exceed what a single dimmer was rated to handle at full incandescent wattage.
- Enclosed fixtures, recessed cans with tight trim, or fully sealed outdoor housings, run hotter and can shorten an LED’s lifespan and destabilize its dimming behavior. Check that the bulb is explicitly rated for enclosed fixtures before installing it.
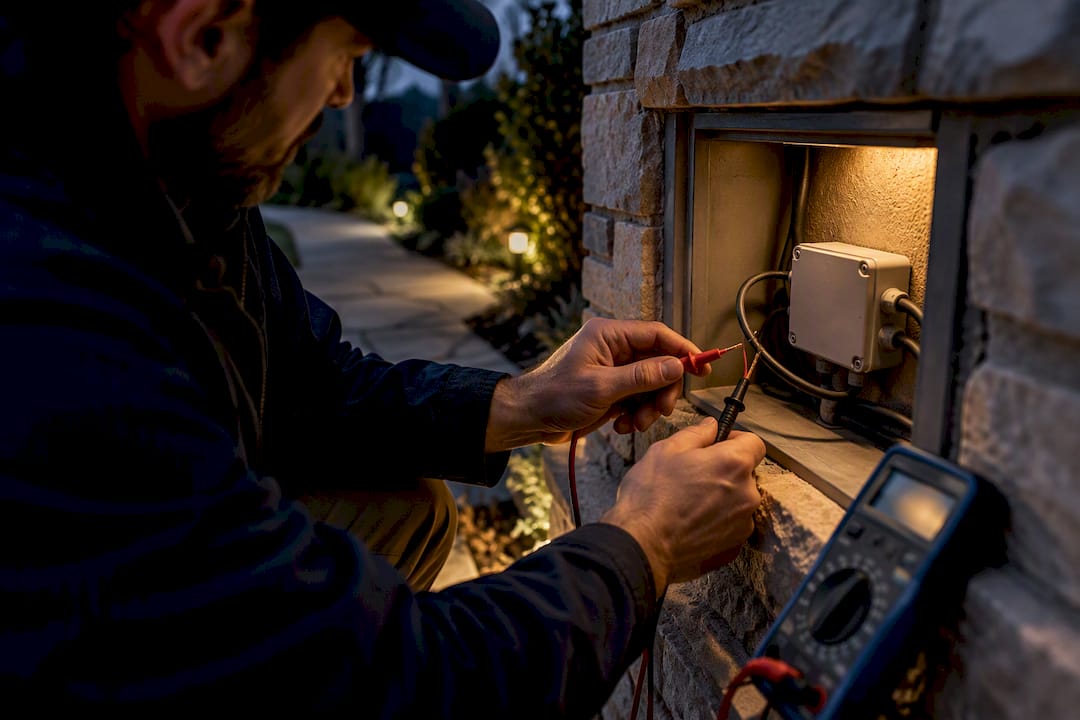
- If flicker or humming persists across more than one bulb brand or dimmer model, stop swapping parts and call a licensed electrician. Persistent, brand-agnostic problems usually point to a transformer or wiring issue that no bulb change will fix.
Installer Perspective: How Professionals Remove Dimming Headaches
Professionals rarely trust a bulb label alone. Before a job is finished, most will mock up the full circuit, correct dimmer type, correct load, correct transformer, and run it through its entire range, because that’s the only way to catch a flicker or a dead zone before a client notices it.
For outdoor and permanent lighting, that caution pushes most installers away from retrofit dimmable bulbs entirely; instead, they often follow an art lighting guide for gallery results at home to choose appropriate fixtures and mounting that optimize dimmable lighting benefits. A system with built-in scene and app control sidesteps the whole phase-cut, transformer, and low-end trim puzzle, because the dimming logic lives in the system, not in a bulb someone might replace with a mismatched one two years later. That’s the thinking behind Capital Pro Lighting’s permanent outdoor lighting installations, backed by a lifetime parts warranty and over a decade of hands-on work in the Capital Region.
— Luis T
Consider a Turnkey Permanent Lighting Solution
If you’ve read this far chasing a flicker you can’t fix, or you’re tired of guessing which bulb will actually play nice with your dimmer, there’s a simpler path for outdoor lighting specifically: skip the bulb-and-dimmer guessing game entirely. Capital Pro Lighting installs permanent roofline lighting controlled from your phone, so color, brightness, and scenes are set at the system level instead of depending on whichever bulb happens to be screwed in.
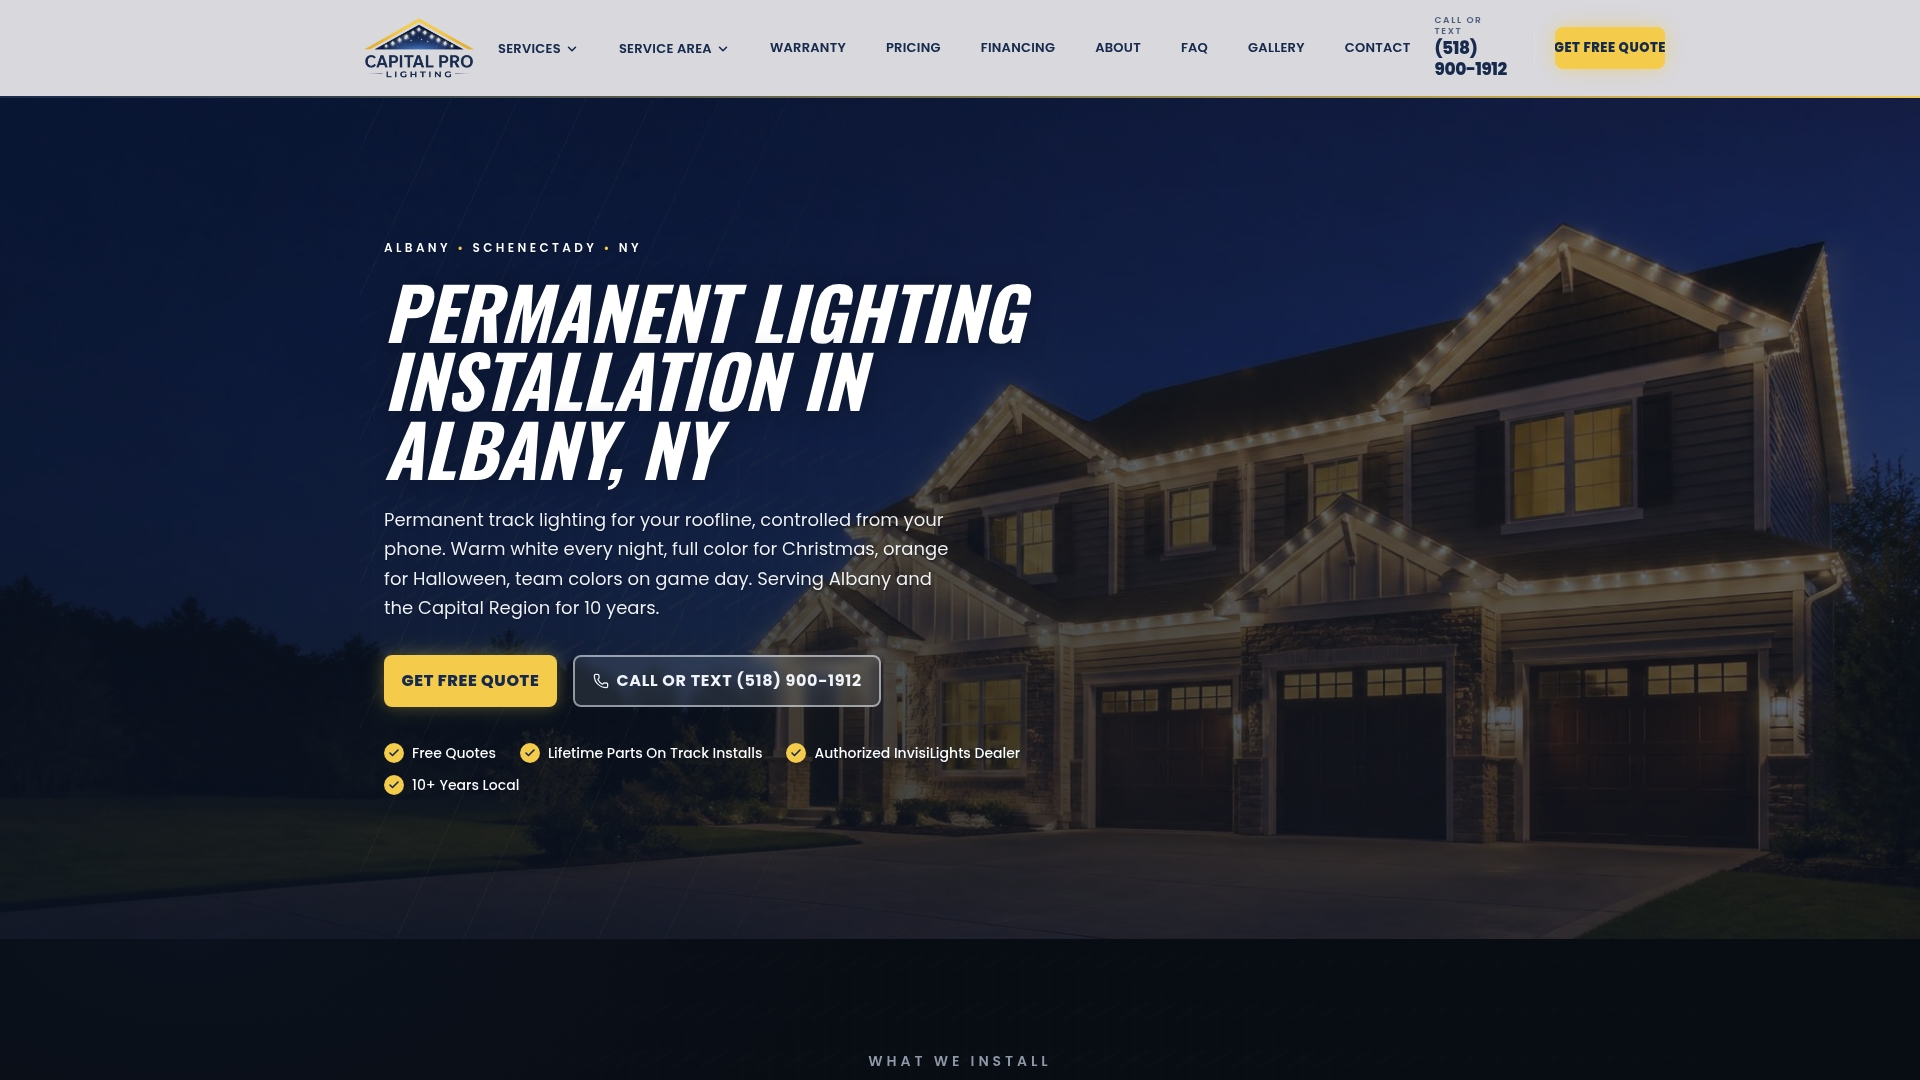
No ladders, no seasonal bulb swaps, no wondering whether this year’s replacement bulb will flicker on last year’s dimmer. Every track installation carries a lifetime parts warranty, and the custom 3D-printed brackets keep the finished look clean instead of looking like an afterthought. Pricing for InvisiLights Track Mounted and InvisiClips / Trackless installations starts from $2,500 and $2,000 respectively, one-off. If you’re in the Capital Region and ready to stop troubleshooting bulbs, get a quote for permanent outdoor lighting and see what a system-level solution looks like on your own roofline.
Authoritative Resources and Compatibility Tools
- ENERGY STAR’s guide to dimmable LED lighting
- Leviton’s universal dimmer compatibility FAQs
- DOE’s report on phase-cut dimming challenges
Sources
- What You Need to Know about LED Flicker and Dimming
- Guide to Dimmable LED Lighting (ENERGY STAR)
- Universal Dimmer FAQs
FAQ
What Happens if You Put a Dimmable Bulb in a Non-Dimmable Fixture?
Nothing bad happens. A dimmable bulb works fine in a standard, non-dimmable switch or fixture; it just runs at full brightness since there’s no dimming signal to respond to. You’re simply not using the feature you paid extra for.
Can I Use a Dimmable Bulb in a Non-Dimmable Lamp?
Yes. Dimmable bulbs are backward compatible with regular, non-dimming lamps and switches, and they’ll light up normally at full output. The only downside is paying for dimming capability you can’t actually access without a dimmer switch installed.
Can You Use a Regular Bulb in a Dimmable Light?
This is where problems start. A non-dimmable bulb placed on a dimmer switch can flicker, buzz, fail to turn off completely, or burn out early, because its driver was never built to interpret a chopped dimming signal. ENERGY STAR and dimmer manufacturers both recommend using only bulbs explicitly labeled dimmable on any dimmer circuit.
What Happens if You Use a Non-Dimmable LED?
On a standard switch, nothing, it performs exactly as intended at fixed brightness. On a dimmer circuit, expect flicker, humming, shortened bulb life, or a complete failure to respond to the dimmer at all, since the driver inside a non-dimmable LED has no way to read the dimming signal.
How Do I Know if a Bulb and Dimmer Are Actually Compatible?
Check the manufacturer’s published compatibility list, Leviton and other dimmer brands maintain tested combination guides, then confirm with a single-bulb mockup in the real fixture before buying a full set. Labels alone don’t guarantee a flicker-free result across every dimmer model.
Does Capital Pro Lighting Offer Dimmable Outdoor Lighting?
Yes. Capital Pro Lighting’s permanent outdoor lighting installations are app-controlled, letting homeowners adjust brightness, color, and scenes without relying on retrofit dimmable bulbs or worrying about dimmer compatibility. Current pricing is listed on the pricing page, with track installations starting from $2,500 one-off.
Ready for a Brighter Home?
Free, no-pressure quotes across the Capital Region.
No obligation. Local installer. Same-day callback.
Reviewed by Capital Pro Lighting
Capital Pro Lighting installs permanent outdoor lighting, architectural lighting, and holiday lighting across Albany and New York's Capital Region. We install UL listed permanent lighting systems and have 10 years in business. More about our team.