Curved Roofline Lighting: Why 4 to 8 Inch Clip Spacing Matters
Curved Roofline Lighting: Why 4 to 8 Inch Clip Spacing Matters
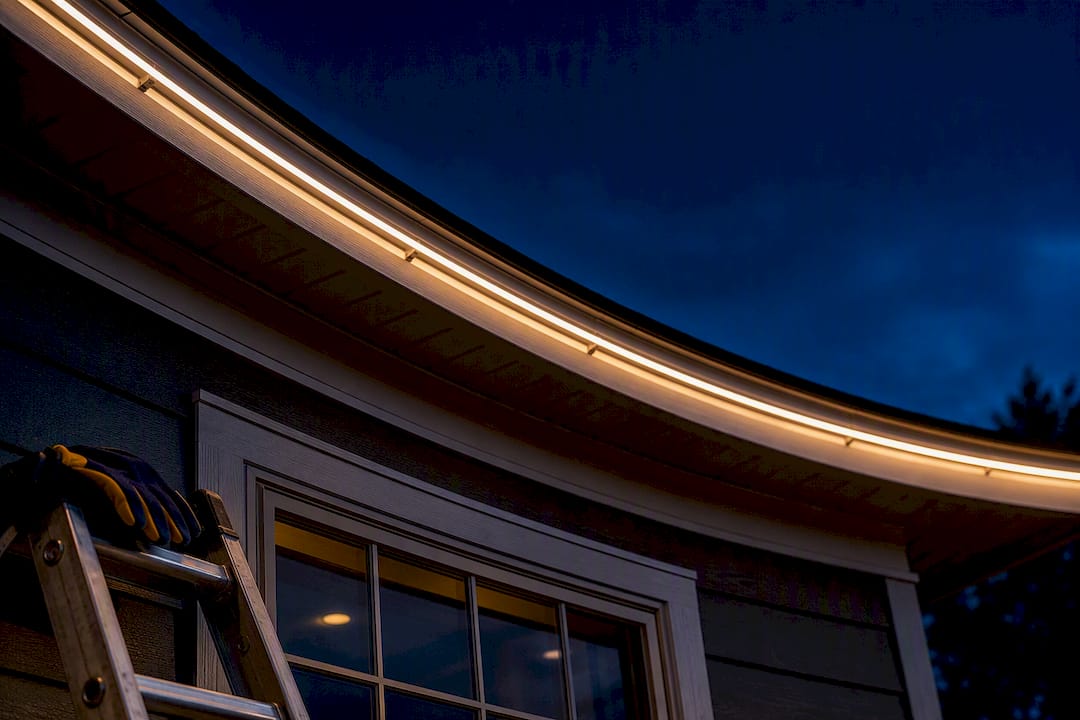
Yes, permanent low-voltage LED track systems with flexible silicone or dual-bend linear fixtures are the best option for curved roofline lighting. They handle bends without visible seams, run year-round without seasonal takedowns, and let you change colors from your phone instead of a ladder. The catch: curves demand tighter mounting clip spacing and flexible channel profiles that straight-run kits simply don’t include.
TL;DR:
- Flexible silicone-encased fixtures or dual-bend profiles are essential for tight curves to prevent visible gaps or banding issues.
- Waterproof ratings should be at least IP65 for continuous outdoor exposure, with IP67 or higher preferable for roof runoff and seasonal weather.
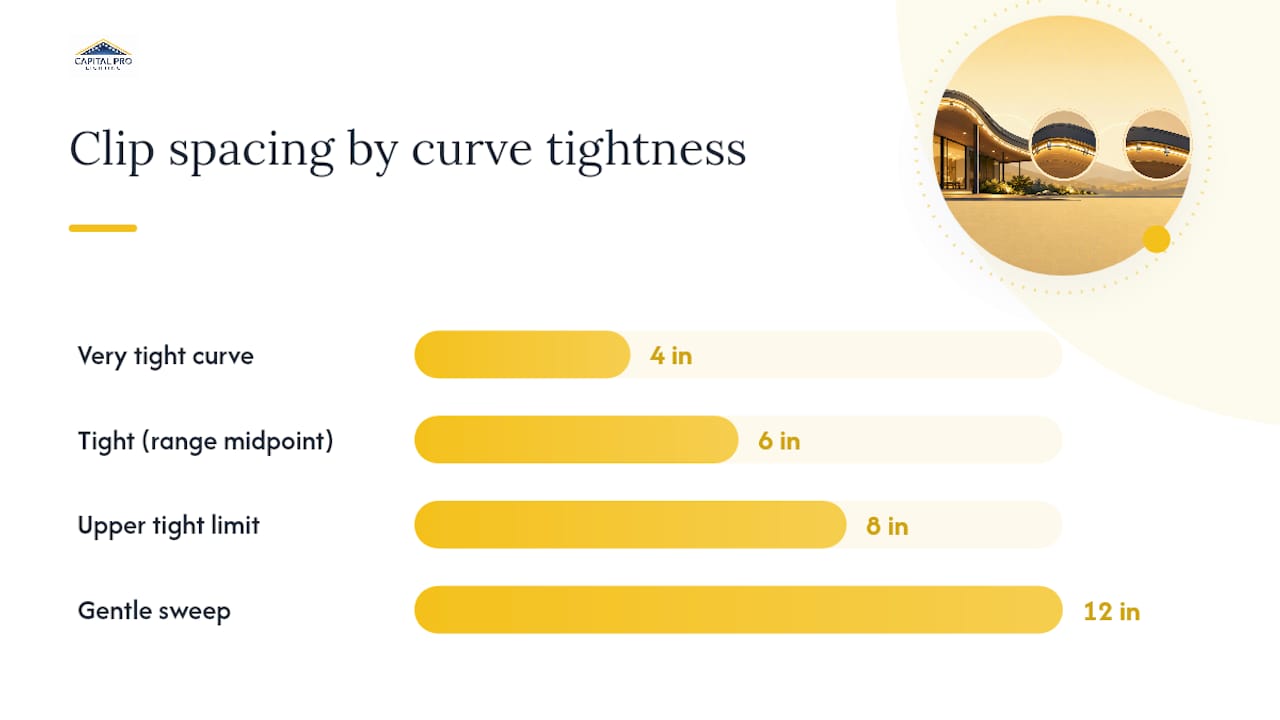
- Proper clip spacing must be tighter on curves, typically 4 to 8 inches, to maintain alignment and thermal stability over temperature cycles.
- Confirm the bend radius specifications in writing and measure your roofline’s curves carefully to avoid installing fixtures beyond their rated flexibility.
- Long curved sections require multiple power injection points and sealed joints to prevent voltage drop, dimming, and moisture ingress.
What Makes Curved Roofline Lighting Different From Straight Runs?
A straight run of LED track is forgiving. You screw down a rigid aluminum channel every foot or so, snap in the diffuser, and the light line looks clean because there’s nothing to fight. A curve changes the math entirely.
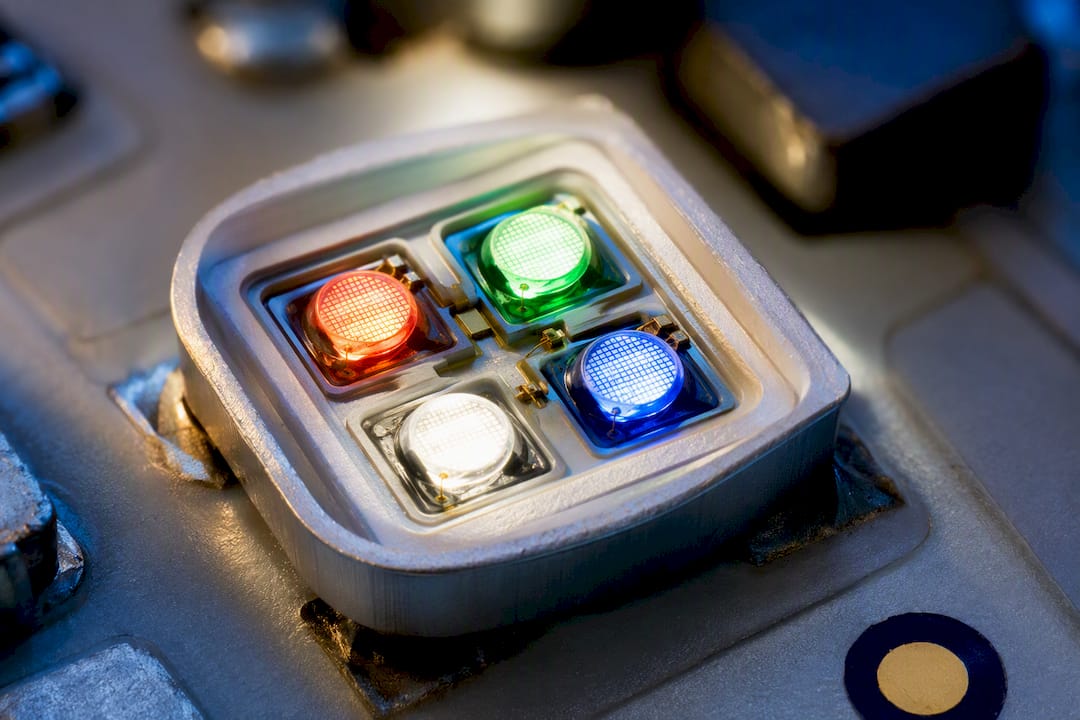
The core components stay the same across both setups: LED engines (the actual diode strips), a channel or track to house them, a diffuser lens to soften the point-source glow into a continuous line, a driver to convert household voltage, and a controller to manage color and scenes. What changes on a curve is the channel material. Rigid aluminum extrusions crack or gap at bend points, so curved rooflines call for flexible silicone-encased fixtures or 3D dual-bend profiles designed to hold a radius without kinking.
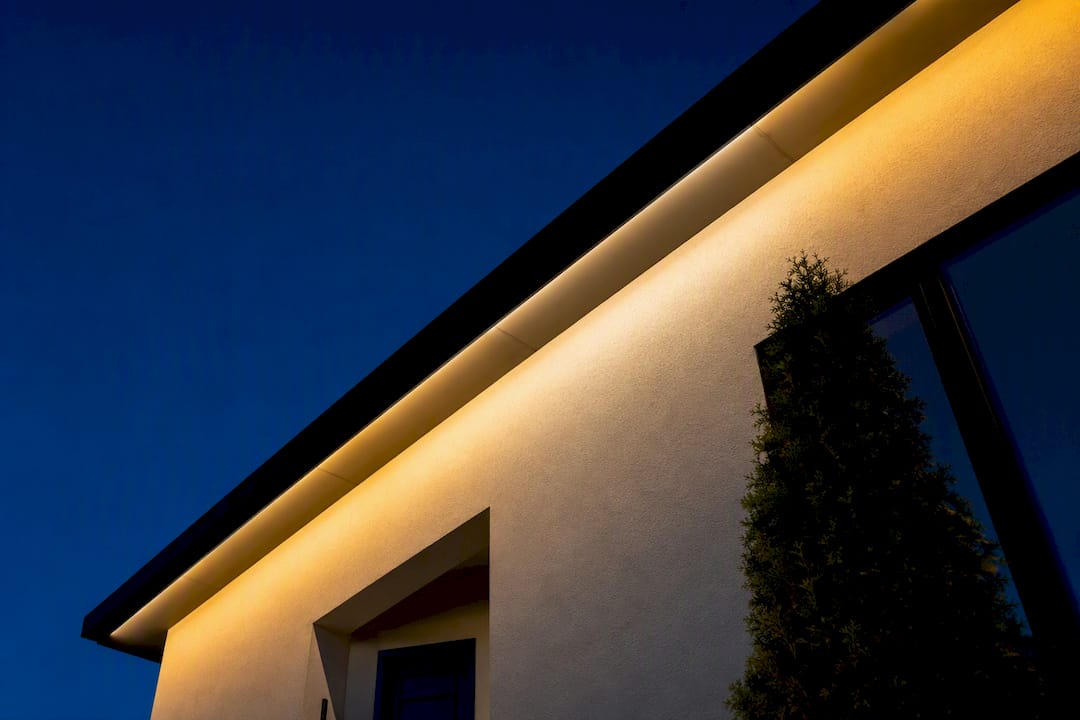
That flexibility matters most where it’s least visible. A cheap flex strip bent too tightly will show individual LED “dots” through the diffuser instead of one smooth glow, an effect installers call banding. Better fixtures pair the LED spacing with a diffuser engineered for the tighter radius, so the light reads as one continuous line even on an eyebrow dormer or a barrel-vaulted porch roof. Slim modular IP67 systems built specifically for contour work solve this by keeping the optical path consistent whether the run is straight or curved.
What Specs Should You Check Before Buying Curved Roof Lighting?
Datasheets are where good curved installations get decided, long before anyone touches a ladder. A few numbers matter more than the marketing copy around them.
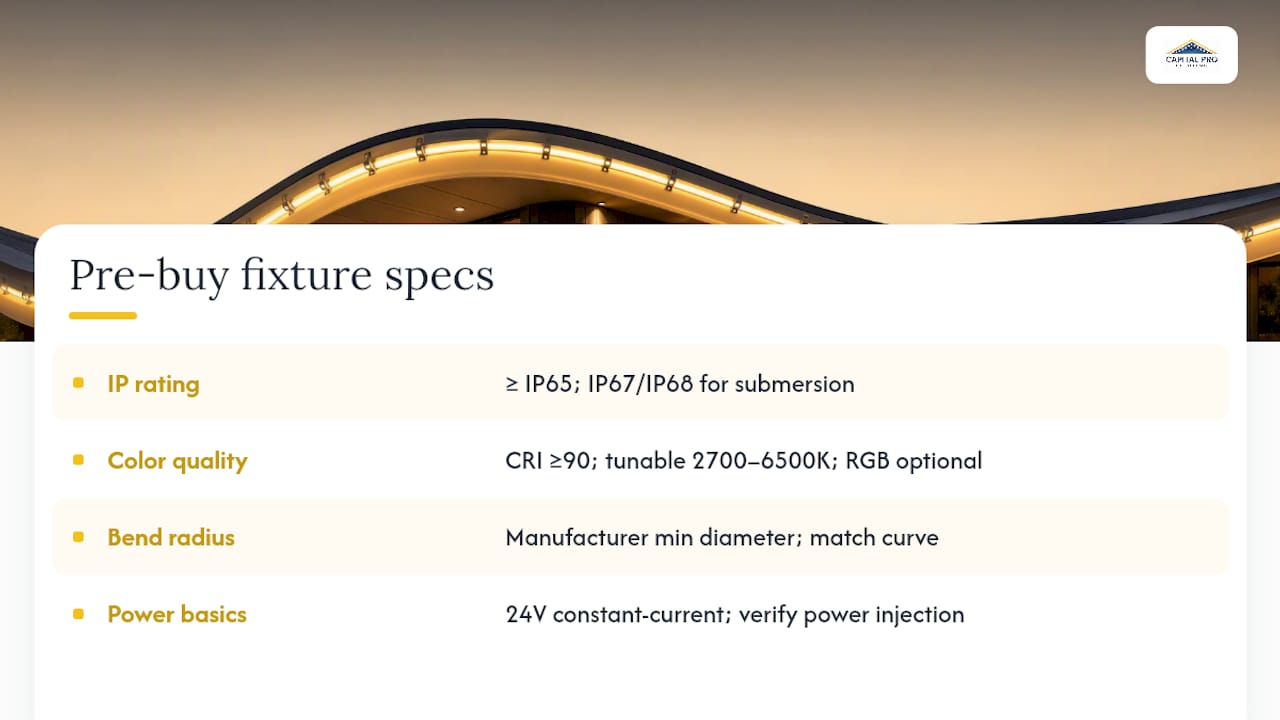
IP rating comes first. Roofline fixtures sit exposed to rain, snow melt, and UV year-round, so anything less than IP65 is a gamble. IP65 blocks dust and low-pressure water jets, IP67 tolerates temporary submersion, and IP68 is built for constant wet exposure, the kind of rating you want on a run that channels roof runoff during a downpour.
Color quality is the next filter. Look for a CRI of 90 or higher if you want white light that renders your siding and trim accurately instead of washing it out with a bluish or greenish cast. For color temperature, tunable white (usually 2700K to 6500K adjustable) suits everyday architectural accent lighting, while full RGB or RGBIC makes sense if holiday scenes and event colors matter more to you than a clean, warm nightly glow.
Bend radius is the number curved-roof buyers skip and shouldn’t. Flexible silicone-encased fixtures list a specific minimum bending diameter for both horizontal and vertical bends. Measure your tightest curve before you buy, not after the track arrives and won’t sit flush.
Power basics round out the checklist: confirm the system runs on low-voltage 24V constant current (safer to handle and better suited to longer runs than 12V), and ask whether the manufacturer specifies power injection intervals for long curved sections.
How Do You Install LED Lights On A Curved Roof Correctly?
Installation is where most curved roofline lighting projects go wrong, and almost always for the same reason: someone tried to hang a straight-run product on a curve using straight-run spacing.
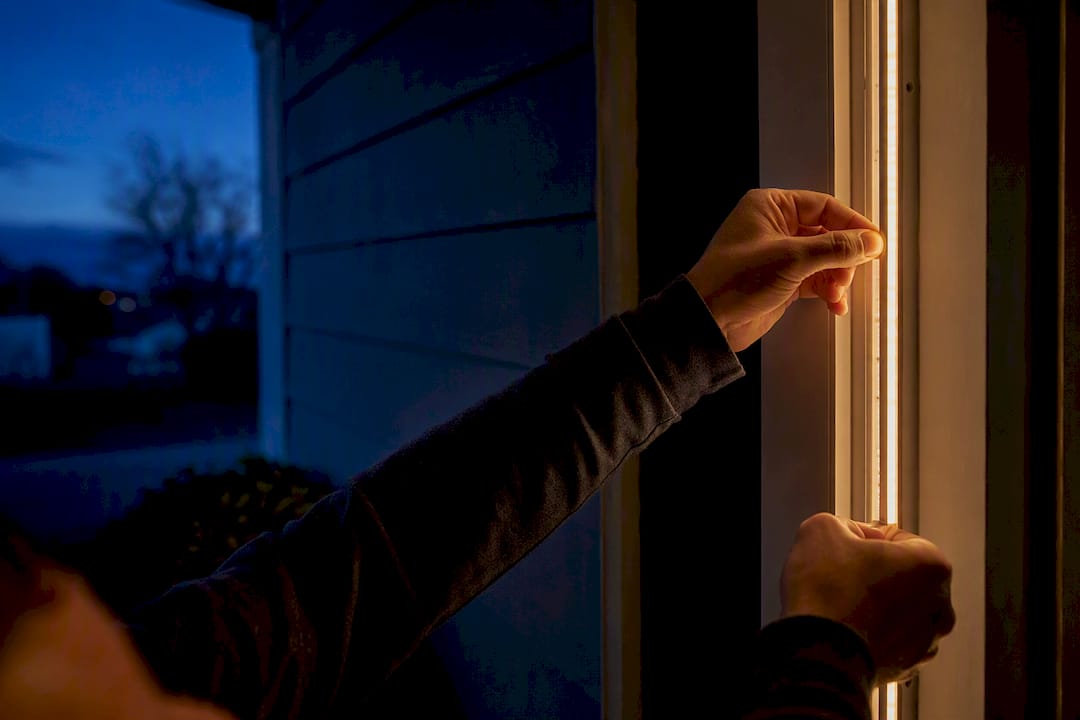
Clip spacing needs to tighten as the curve tightens. On a gentle sweep, clips every 12 inches might hold fine. On a tight radius, like a turret or a rounded bay window roof, installer guidance recommends spacing clips 4 to 8 inches apart to keep the channel following the curve without gapping or popping loose during temperature swings.
Measure before you order. Walk the roofline and record both the inner and outer radius at every curve, then check those numbers against the manufacturer’s stated minimum bend radius. A fixture rated for a 6-inch bend diameter will fight you, or fail outright, on a tighter turn.
Power injection prevents the dim-and-yellow look that shows up at the far end of a long run as voltage drops. On extended curved sections, plan for injection points at set intervals rather than powering the whole run from one end, and place transformers in a sheltered, GFCI-protected location per standard outdoor electrical practice.
Seal every joint. Waterproof connectors and end caps at every bend and splice point keep moisture out of the channel, and leaving a small expansion gap accounts for thermal movement as aluminum and silicone expand and contract through New York’s temperature swings.
A few mistakes show up again and again on DIY and even some professional jobs:
- Reusing straight-track clip spacing on a curved section, which lets the channel bow outward over time.
- Skipping a full test-and-power check before finalizing the mount, which experienced installers avoid by pre-laying the track on the ground and lighting it up before anything gets screwed down.
- Forcing a channel past its rated bend diameter, which stresses the material and shortens fixture life even if it looks fine on install day.
Pro Tip: Thermal cycling is the silent killer of curved installs. A channel that fits perfectly in June can pop out of clips that were spaced too far apart once winter cold makes the aluminum contract. Closer clip spacing on curves isn’t overkill, it’s the difference between a five-year fix-free run and a callback in January.
Should You Choose Tunable White Or RGB For A Curved Roofline?
The honest answer depends on how often you plan to change the look. Tunable white gives you a warm-to-cool range, typically 2700K to 6500K, that reads as intentional architectural lighting rather than a light show. It’s the right call if you mostly want your curved roofline lit cleanly every night and only want occasional color for a holiday or a birthday.
RGB or RGBIC opens up full-color scenes: red and green for December, orange for a fall party, team colors for game day. If seasonal versatility is your main driver for going permanent in the first place, this is the category to prioritize.
Whichever you choose, a few control features are worth insisting on rather than treating as nice extras:
- App control with offline scheduling, so scenes still run correctly if your Wi-Fi drops.
- Zoning on long runs, which prevents the far end of a large curved roofline from looking dimmer than the near end and lets you run different scenes on different sections.
- A stable local network connection, since smart roofline systems typically pair over 2.4GHz Wi-Fi rather than Bluetooth, which has a shorter effective range for an exterior run wrapping around a house.
- A password-protected home network, since any Wi-Fi-connected exterior device is a small extra entry point worth locking down like the rest of your smart home gear.
How Long Do Curved Roofline LED Systems Last?
Quality LED engines are rated for tens of thousands of hours, which in practical terms means years of nightly use before noticeable dimming. Maintenance is light: a seasonal rinse to clear pollen and debris, a visual check of end caps and connectors after major storms, and confirming the app still connects after a router change or firmware update.
Warranty language is where buyers get tripped up. A “lifetime parts warranty” on a track installation usually means the physical track and mounting hardware are covered for as long as you own the home, not that every diode is guaranteed to never dim. Before signing anything, ask specifically about labor coverage versus parts-only coverage, whether firmware updates are included, whether the warranty transfers if you sell the house, and what’s explicitly excluded, lightning strikes and physical damage from storms or wildlife are common carve-outs.
What Does A Curved Roofline Lighting Project Cost?
Pricing swings more on curved rooflines than straight ones because complexity, not just linear footage, drives labor time. The variables that move your quote most: how many distinct curves and radii the roofline has, whether you want RGB versus tunable white only, how much electrical work is needed to run new circuits, and how accessible the roofline is for mounting.
A realistic project timeline looks like this:
- Site survey and measurement: typically scheduled within one to two weeks of your first call.
- Custom quote and material ordering: often another one to three weeks, longer if custom-bent brackets or specific colors are backordered.
- On-site installation: usually one to two days for a typical single-family roofline, longer for multiple curved sections or commercial buildings.
- Commissioning and app setup: same day as install, walking through scenes and schedules before the crew leaves.
When you compare quotes, look past the bottom-line number and check whether it itemizes materials (channel type, LED spec, control hub), labor hours, electrical work, and warranty terms separately. A quote that bundles everything into one line item makes it hard to tell whether you’re paying for premium silicone channel or a cheap rigid one dressed up in the proposal language.
What Should You Ask Capital Pro Lighting At A Site Survey?
Some installers have over 10 years of experience installing permanent outdoor lighting across Albany and the wider Capital Region, which means crews have bent track around many porch curves and turret roofs for comparison. Some permanent outdoor lighting systems include phone-app color control, a lifetime parts warranty on track installations, and custom 3D-printed brackets designed to hug curved fascia cleanly instead of forcing a rigid mount where it doesn’t belong.
At a survey, ask to see sample channels bent to a radius close to yours, request the documented minimum bend radius in writing rather than a verbal estimate, and ask for warranty paperwork before any deposit changes hands. It’s also fair to ask for photos of similar curved installs the company has completed, a materials list specific to your roofline, and a sample program showing how scenes would look through a full year, holidays included.
The Truth About Curved Roofline Lighting Nobody Tells You
Most articles on this topic treat curved rooflines as a minor variation on standard installs, a footnote about “flexible channels” tucked into a general buying guide, which undersells the problem. A curve changes almost every decision that matters: clip spacing, bend radius tolerance, diffuser choice, even where you place power injection points. Treating a curved roofline like a straight one with a bendy strip stapled on is the single most common reason DIY installs look uneven within a year.
What’s overrated in most guidance is color capability. Homeowners fixate on RGB versus tunable white, but the fixture’s actual bend performance decides whether the install looks good at all before color ever enters the conversation. A gorgeous RGBIC strip that bands and gaps at the curve looks worse than a plain white strip that follows the roofline perfectly.
What actually matters, based on how these systems fail, is verification. Ask for the bend radius spec in writing. Ask what clip spacing the installer plans to use on your tightest curve. Those two questions filter out more bad installs than any conversation about app features ever will.
— Luis T
Get A Site Survey For Your Curved Roofline
Curved rooflines are exactly the projects where a phone call beats another hour of browsing datasheets. Capital Pro Lighting handles the bend-radius math, the clip spacing, and the electrical layout so you don’t have to reverse-engineer a manufacturer spec sheet before you can even get a quote.
A site survey covers three things: measuring your roofline’s actual curves and radii, showing you sample channels and color options in person, and giving you a real cost range and timeline before you commit to anything. The lifetime parts warranty on track installations applies whether your roofline is straight, curved, or a mix of both, and the custom 3D-printed brackets are made to fit the specific curve on your house rather than a generic profile. If you’re in the Capital Region, check your service area coverage and request a design quote to get exact numbers for your roofline instead of the ranges in this guide.
Sources
For deeper specs, see CPSC injury data on ladder and holiday lighting incidents, manufacturer bend-radius datasheets, and installer guides on power injection and waterproofing referenced throughout this article. For design inspiration beyond lighting, this guide on upscale home exteriors pairs well with accent lighting choices.
- How to Install LED Strip Lights in a Curved Flexible Aluminum Channel? — ESLEDPROFILE
- LINEARFLOW FACADE WHITE — Light Projects
FAQ
What are the best lights for a curved roofline?
Flexible silicone-encased LED linear fixtures or 3D dual-bend profiles work best, since they follow tight curves without the gapping or cracking that rigid aluminum channel shows on bends.
Are permanent roofline lights legal to install?
Permanent low-voltage LED lighting is generally allowed under standard residential electrical codes, though local permit requirements vary, so check with your municipality or ask your installer to confirm before work begins.
What do you call the round recessed lights in a ceiling?
Those are typically called recessed lights or “can lights,” a different category from roofline or facade lighting, which mounts along the exterior fascia or eave rather than inside a ceiling.
How do you hang lights on a curved roofline?
Professionals measure the inner and outer radius of each curve, match the fixture to a manufacturer-rated minimum bend radius, and mount it with tighter clip spacing, often 4 to 8 inches apart on tight curves, to prevent the channel from popping loose.
Is permanent curved roofline lighting worth the upfront cost?
For most homeowners, yes, since it eliminates the yearly ladder work tied to seasonal string lights, and CPSC injury data shows how much risk that ladder work carries every holiday season.
Ready for a Brighter Home?
Free, no-pressure quotes across the Capital Region.
No obligation. Local installer. Same-day callback.
Reviewed by Capital Pro Lighting
Capital Pro Lighting installs permanent outdoor lighting, architectural lighting, and holiday lighting across Albany and New York's Capital Region. We are an authorized InvisiLights dealer and a Govee certified installer, with 10 years in business. More about our team.