10°–60° Beam Rules: Choose Uplighting or Downlighting for Your Home
10°–60° Beam Rules: Choose Uplighting or Downlighting for Your Home
Choose uplighting when you want drama and vertical emphasis on a tree, wall, or facade. Choose downlighting when safety and usable task light are the priority, like steps, paths, or a kitchen island. Most homes end up needing both: downlighting handles the function, uplighting handles the show, and layering the two is what separates a lit house from a designed one.
TL;DR:
- Uplighting uses narrow beams to highlight textures and features, creating dramatic shadows, while downlighting provides wider coverage for safety and task illumination.
- Proper fixture selection involves matching beam angles to the application and choosing warm, high-CRI bulbs with weather-resistant IP ratings.
- Layering uplighting and downlighting enhances visual interest without clutter, with ambient lighting established first, then accents added for contrast.
- Glare reduction requires shielding fixtures and aiming them below eye level, while timers and dimming improve energy efficiency and ecological impact.
- Professional installation benefits include customized hardware, seamless wiring, and remote control of both lighting layers from a smartphone.
Uplighting vs Downlighting: The Basic Difference
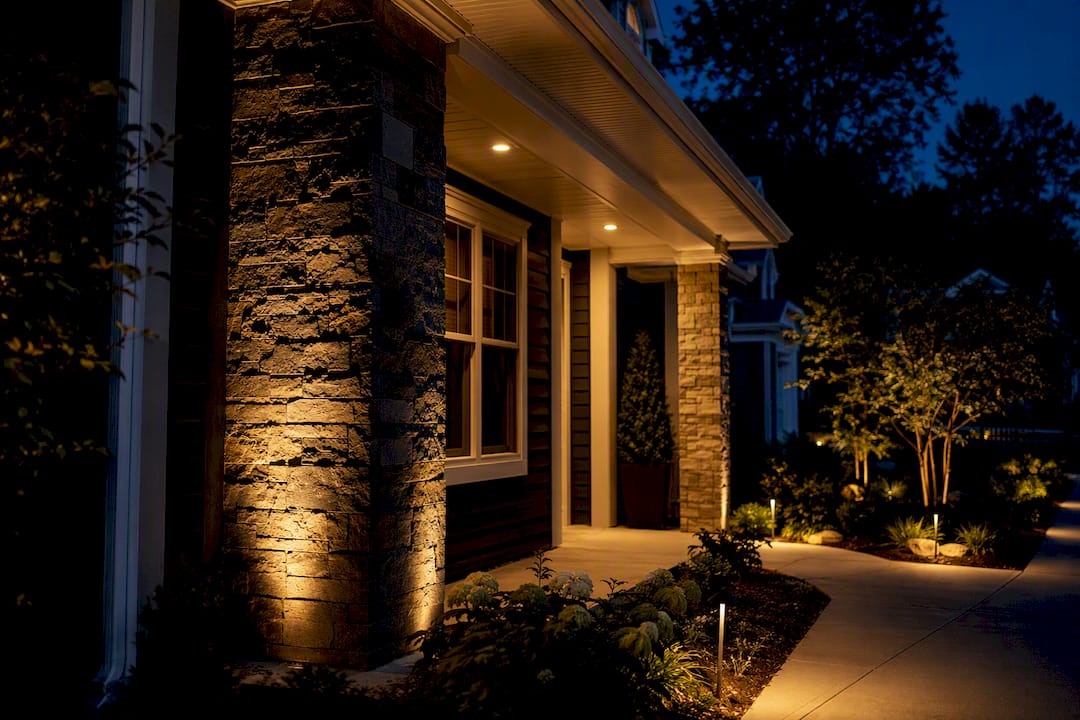
Uplighting sends light upward from a ground-level or low-mounted fixture, usually to highlight a tree canopy, a stone facade, or a column. Downlighting does the opposite: it drops light from above, whether that’s a soffit, eave, tree branch, or ceiling fixture, spreading illumination over a wider area below.
The direction changes more than brightness. It changes shadow and shape. Uplighting throws shadows upward and outward, exaggerating height and texture, which is why it makes a two-story house or a mature oak look taller and more dramatic than it does in daylight. Downlighting casts shadows downward and inward, which reads as natural and grounded, closer to how sunlight actually falls.
Beam angle matters more than most people expect:
- Uplights typically run narrow to medium, around 10° to 40°, since the goal is to grab a specific feature.
- Downlights usually run wider, about 30° to 60°, since the goal is coverage across a walkway or room.
Downlighting delivers more usable, focused task light, while uplighting builds the softer, larger-feeling ambient glow that makes a space or facade feel bigger than it is.
Head-to-Head: Beam Control, Fixtures, and Glare
On paper, uplighting and downlighting solve different problems, and the technical details explain why.
Beam control follows a simple rule of thumb: beam diameter roughly equals twice the mounting height multiplied by the tangent of half the beam angle. Practically, that means a downlight mounted higher up (a soffit or a tall tree branch) spreads light over a much wider footprint than the same fixture mounted low. Uplights, staked into the ground a foot or two from a wall, stay tight and targeted by design.
Fixture types and mounting break down into a few common categories:
- Ground spikes for uplighting trees, shrubs, or short wall sections.
- In-ground well lights for uplighting facades or flush-mounted path lighting.
- Tree-mounted or branch-clamped fixtures for downlighting, also called moonlighting.
- Soffit or eave-mounted fixtures for downlighting porches, patios, and building faces.
Glare and daytime looks favor downlighting. Ground-mounted uplights sit in the landscape where you can see the hardware in daylight and where mowers and edgers threaten the wiring. Downlights tucked into a soffit or high branch disappear during the day and aim their beam away from eye level, which cuts glare risk significantly.
According to Lumens’ lighting guide, downlighting reliably produces more usable light for tasks and safety, while uplighting produces atmosphere rather than brightness. That single distinction should drive most of your fixture decisions.
Where to Use Uplighting and Downlighting Around Your Home
The right technique depends on the surface, not personal taste. Here’s how to map each one to a real project.
- Specimen trees. Ground-mounted uplights placed at the base highlight bark texture and branch structure. Two or three fixtures aimed from different angles on a large tree avoid the flat, single-source look that one spotlight creates, according to landscape lighting specialists.
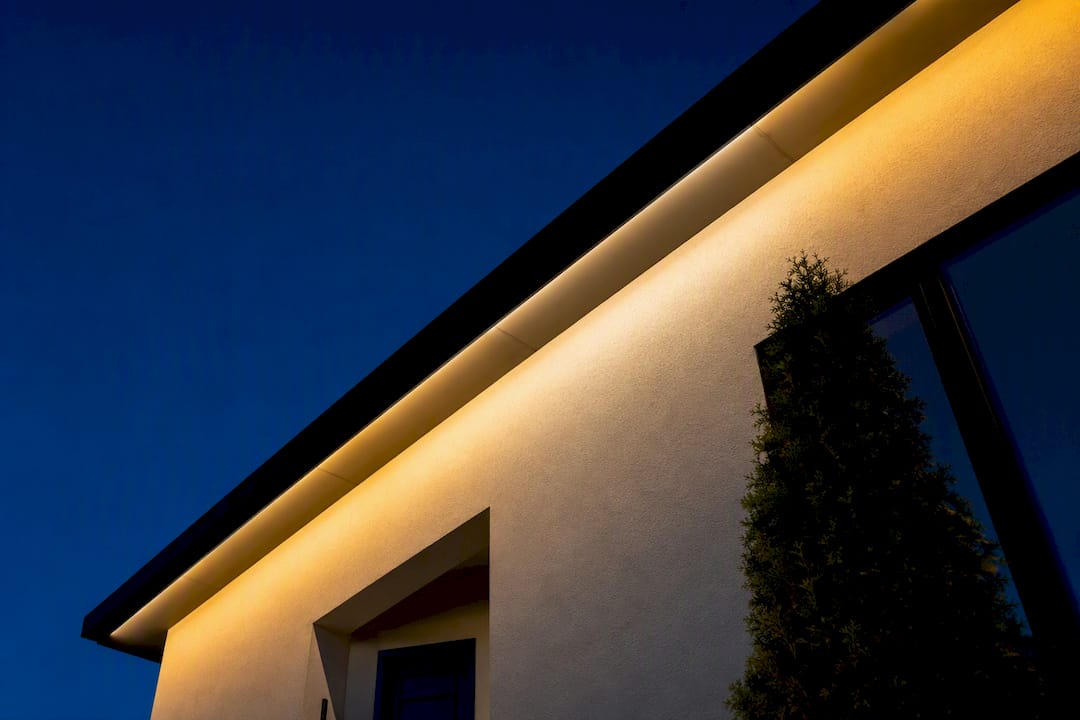
- Facades and columns. Uplighting brings out stone texture, brick relief, and architectural trim that daylight flattens out.
- Paths and steps. Downlighting, or low path lights aimed downward, keeps glare out of guests’ eyes while lighting the walking surface itself.
- Patios and seating areas. Moonlighting, downlighting from high in a tree canopy, creates dappled, natural-looking shadows across furniture and lawn.
- High-ceiling rooms indoors. Downlighting from recessed or track fixtures handles general room illumination without competing with furniture below.
- Accent walls and art. Indoor uplighting, often from floor-mounted fixtures, draws the eye upward toward artwork, exposed beams, or a fireplace surround.
- Kitchens and hallways. Downlighting supplies the even, task-focused light these rooms need for cooking and safe passage.
The quick rule: if safety or usable light is the goal, go down. If a feature deserves a spotlight moment, go up.
How to Layer Uplighting and Downlighting Together
Professional lighting designers rarely pick one technique. They stack layers the way a photographer lights a portrait: ambient light for overall visibility, accent light for focal points, and fill or path light for safety.
A front yard often works well as facade uplighting paired with path-level downlighting along the walkway. A backyard patio pairs tree moonlighting overhead with subtler uplights on a retaining wall or fire feature. Neither layer competes with the other because they’re solving different jobs.
- Set ambient downlighting first, since it establishes the baseline the rest of the scene builds on.
- Add uplighting accents second, once you can see how much contrast the space actually needs.
- Reserve dimming for scene changes, brighter for entertaining, dimmed and warmer for a quiet weeknight.
Pro Tip: Match color temperature across every fixture in a scene. Mixing a 2700K uplight with a 5000K downlight on the same facade makes the house look like it’s lit by two different systems, even when both fixtures are working perfectly.
Fixture Specs That Actually Matter: Beam Angle, CCT, CRI, and IP Rating
Buying outdoor fixtures without checking specs is how homeowners end up with washed-out color, harsh glare, or a light that dies after one winter. Four numbers deserve attention before you buy anything.
Beam angle should match the beam-diameter math from earlier: narrower angles for accenting a single tree trunk, wider angles for spreading downlight across a patio.
Color temperature (CCT) should stay warm, generally 3000K or lower for residential exteriors, since warm light reads as natural against brick, stone, and foliage rather than clinical.
Color rendering index (CRI) should sit at 80 or higher, ideally closer to 90, so plant greens and brick reds look accurate instead of dull or gray.
IP rating determines how much weather a fixture survives. IP65 suits most exposed outdoor fixtures, while in-ground well lights typically need IP67, and anything near standing water needs IP68.
- Choose bronze or matte housings that blend into mulch beds and soffits during daylight hours for better aesthetics.
- Look for adjustable or 3D-printed brackets that let a fixture sit flush without a visible gap.
- Consider a programmable LED system if you want to shift CCT and brightness by scene without swapping bulbs.
Avoiding Glare, Light Pollution, and Safety Mistakes
Good outdoor lighting is judged as much by what you don’t see as by what you do. Poor aiming and unshielded fixtures create two problems: glare for people standing nearby and light pollution spilling into the night sky.
- Use louvers, shields, or honeycomb baffles on uplights to keep the bulb itself out of direct view.
- Aim fixtures below eye level whenever possible, especially along paths where guests walk close to the beam.
- Keep upward spill to a minimum and stick to warm CCT, since both choices reduce ecological impact and cut down on neighbor complaints.
- Set timers or curfew dimming so security lighting drops in intensity after midnight instead of running at full brightness all night.
- Space step and path lights close enough that no single tread sits in shadow. Gaps of more than 6 to 8 feet usually leave dark spots.
Pro Tip: If a project involves running new low-voltage wiring, transformers, or permanent trenching, that’s the point to call a licensed installer rather than a weekend project. Getting the electrical planning wrong costs far more to fix later than it does to plan correctly up front.
What Years of Permanent Installations Teach You About Lighting Mistakes
The most common mistake homeowners make isn’t picking the wrong technique. It’s overdoing it: too many fixtures, beam angles pointed at eye level, hardware left visible in daylight. A programmable permanent system solves the seasonal half of that problem entirely, letting a homeowner shift from holiday colors to a warm nightly glow without touching a ladder. Custom brackets and a lifetime parts warranty on track installations exist because the hardware, not just the bulb, is what determines whether a system still looks clean in year five.
— Luis T
Get Layered Lighting Done Right the First Time
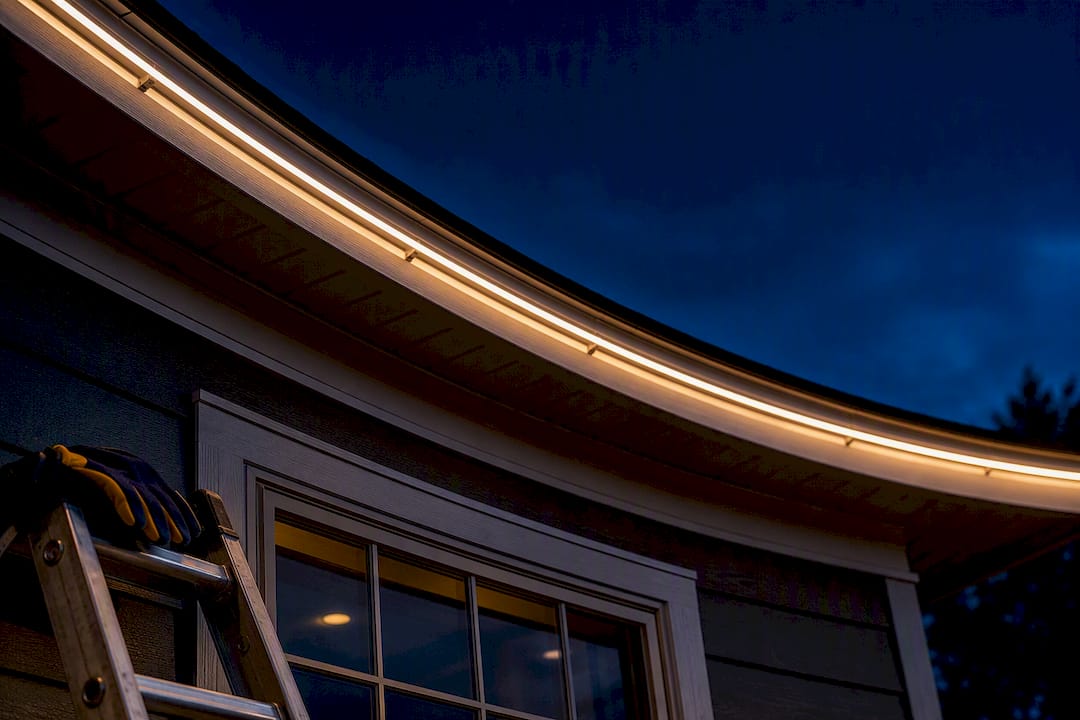
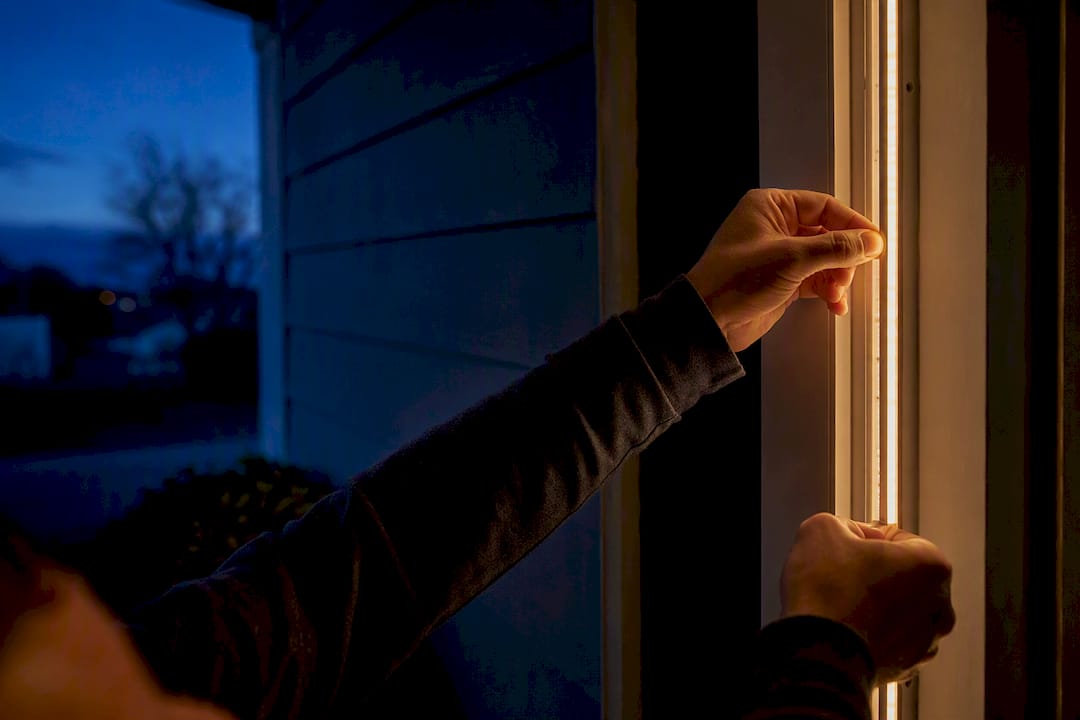
Permanent outdoor lighting systems can put both uplighting and downlighting on one programmable track, controlled entirely from a phone app. That means no more hauling out extension cords for holidays and no more guessing whether a fixture is aimed correctly. Many installations include warranties and custom brackets designed for a clean, concealed finish rather than the exposed hardware that makes many DIY setups look unfinished in daylight.
If you’re weighing uplighting against downlighting for your own home, a professional walkthrough solves both the beam-angle guesswork and the wiring questions at once. Capital Pro Lighting has spent over a decade installing permanent lighting across the Capital Region, including Latham and Delmar. Request an on-site consultation to get a layout that balances both techniques for your specific facade, trees, and walkways.
Sources
For beam-angle tables and IP-rating breakdowns, the Techlumen landscape lighting guide covers technical specs in more depth. For how uplighting interacts with interior focal points like art walls and built-ins, One Day Doors & Closets’ design resources offer a useful complement from the design side.
- What Provides More Light: Uplights vs Downlights | Lumens
- Landscape & architectural lighting guide | Techlumen
- Downlighting vs. Uplighting: Choosing the Right Landscape Lighting for 2026 | Landscape Lighting Pro
FAQ
Is Uplighting Better Than Downlighting?
Neither is objectively better. Uplighting wins for drama and vertical emphasis on trees or facades, while downlighting wins for usable task light and safety on paths and steps.
Can Downlights Be Used as Uplights?
Not effectively. Downlights are designed and shielded for downward beam spread, so flipping one to shine upward usually produces poor beam control and visible glare compared to a fixture built for uplighting.
Is Uplighting Worth It at a Wedding or Event?
Yes, for atmosphere. Uplighting on walls, tents, or trees adds color and drama for photos and ambiance, but event spaces still need downlighting or path lighting to ensure guest safety on walkways and steps.
Where Should I Place Uplighting on My House?
Aim uplights at facade textures, columns, and architectural trim, staking fixtures a foot or two from the wall. For trees, use two to three fixtures at different angles per large tree to avoid a flat, single-source look.
Ready for a Brighter Home?
Free, no-pressure quotes across the Capital Region.
No obligation. Local installer. Same-day callback.
Reviewed by Capital Pro Lighting
Capital Pro Lighting installs permanent outdoor lighting, architectural lighting, and holiday lighting across Albany and New York's Capital Region. We are an authorized InvisiLights dealer and a Govee certified installer, with 10 years in business. More about our team.