
Homeowners: DIY Door Frame Lighting in 45–90 Minutes or Go Pro
Homeowners: DIY Door Frame Lighting in 45–90 Minutes or Go Pro
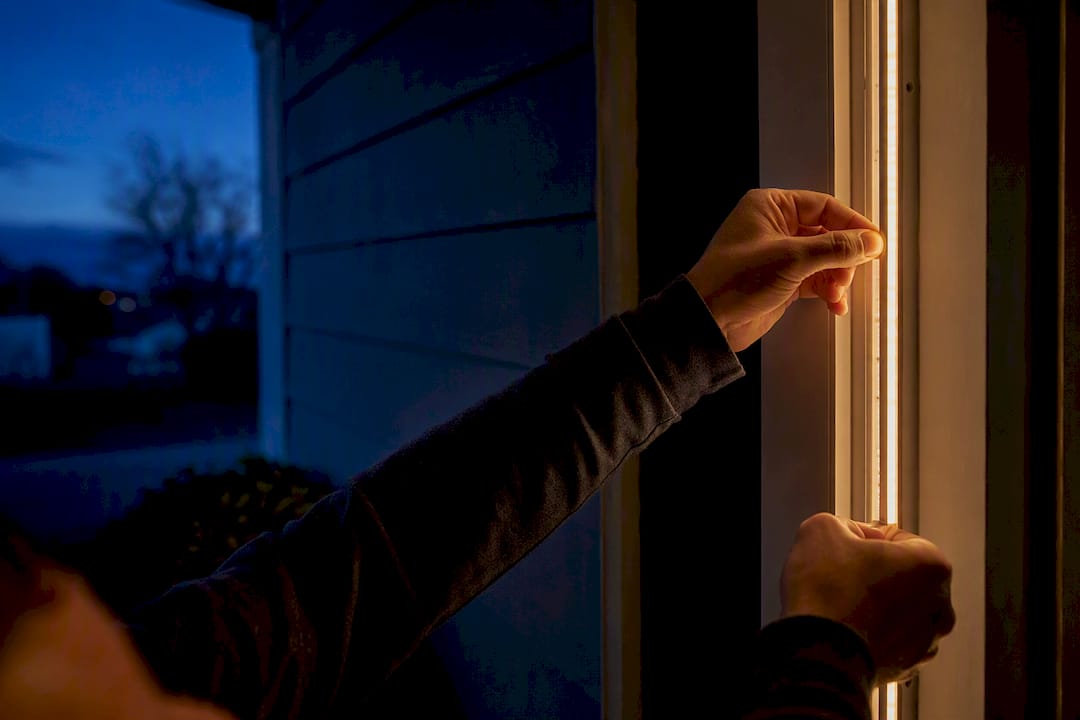
For a quick weekend fix, an aftermarket LED frame kit gives you a doorway glow in under an hour. For a factory-integrated look, an in-frame header light like LightEn is worth ordering through your door supplier. For a permanent, weatherproof, app-controlled finish that never needs batteries swapped or strips replaced, a pro-installed system is the better long-term move. Battery power suits speed; hardwired suits permanence. Compare the options below before you buy.
TL;DR:
- Retail LED kits are a quick, DIY option but often fail in harsh weather and require frequent replacement or troubleshooting.
- Hardwired, permanent systems like Capital Pro Lighting offer a one-time installation with app control, a lifetime warranty, and a built-in, seamless finish.
- Proper sealing around the door, including weatherstripping and threshold adjustments, is essential to prevent daylight leaks and ensure light fixture longevity.
- Most exterior safety and weatherproofing issues stem from incorrect fixture choice, poor mounting, or inadequate IP ratings, not from design flaws.
Comparing Door Frame Lighting Products: In-Frame, Retail Kits, and Ambient Bars
Three distinct product categories dominate the door frame lighting market, and they solve different problems. Knowing which category you’re actually shopping in saves you from buying the wrong thing twice.
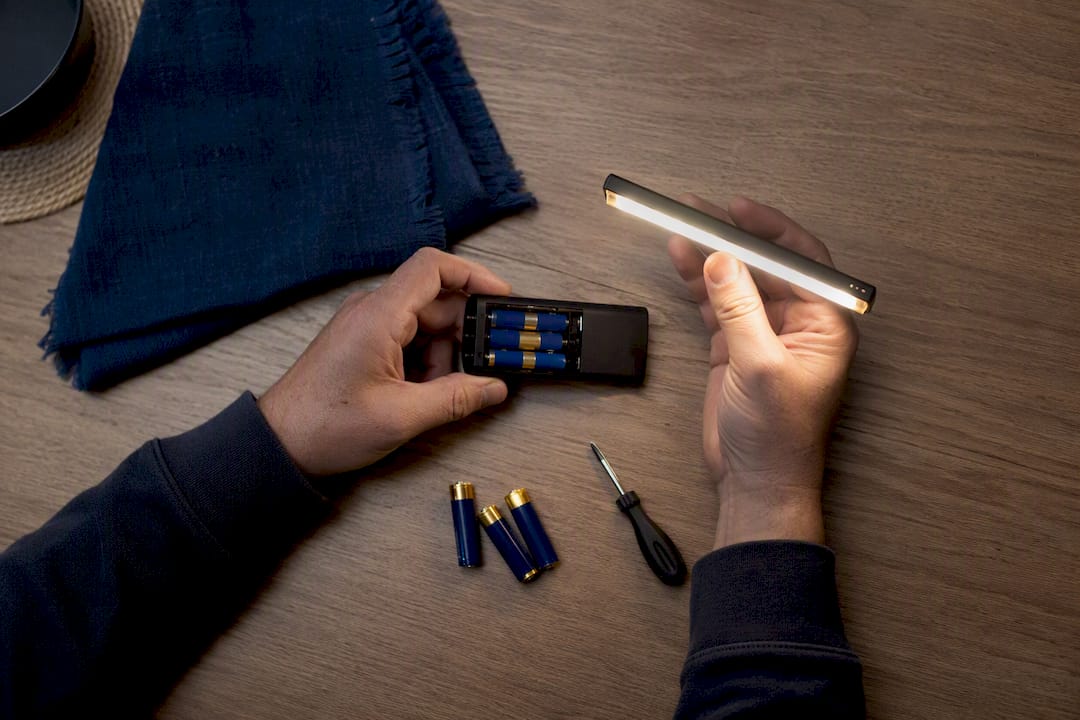
In-frame factory header lights, represented by products like LightEn (built by Endura for ProVia and similar door systems), sit inside the door header itself rather than bolted onto the surface. These run on battery packs, most commonly AA lithium cells, and include dusk-to-dawn automation as a factory-standard feature. The catch: they’re not something you grab off a shelf. LightEn ships through OEM ordering channels, meaning you generally need to coordinate with a door dealer or installer at the time you’re buying a new pre-hung door, not retrofit it onto an existing one.
Retail LED door frame kits, like the ExclusiveCoversUSA line, take the opposite approach. These are aftermarket strips or shallow light bars designed to stick onto a frame you already own. Multiple color modes are common, installation is genuinely DIY, and pricing and features vary widely across listings. Waterproofing is the variable to watch closely here. Some are rated for covered porches only, others hold up to direct weather.
Ambient light bars and universal jamb strips, the thin acrylic or plastic bars you’ll find on eBay and similar marketplaces, are the budget tier. They’re cut-to-fit, meant to tuck into the rubber gap along a jamb or surface-mount near the handle, and they typically cost less than either alternative above. The tradeoff is mounting creativity. Because they’re not designed for one specific frame profile, you often improvise a bracket or adhesive solution.
A door light kit generally includes just two core parts: the light source and its power supply, whether that’s solar, battery, or hardwired. Motion sensors, timers, and smart controls are add-ons layered on top of that basic pairing.
- In-frame header (LightEn): battery powered, dusk-to-dawn sensor built in, factory/dealer order only, moderate cost tied to door purchase
- Retail LED frame kits: battery or USB powered, DIY install in under an hour, multiple color modes, price and waterproofing vary by listing
- Ambient bars/universal strips: battery powered, cut-to-fit DIY install, minimal features, lowest price point but least polished finish
How Do You Install a Door Frame Light Kit Yourself?
Before you touch a screwdriver, run through a short checklist: measure the jamb gap where the light will sit, confirm your frame material (wood, vinyl, fiberglass all mount differently), decide on battery, USB, or hardwired power, and check the IP rating if any part of the installation faces open weather.
- Clean and dry the mounting surface. Adhesive-backed strips fail fast on dusty or damp frames.
- Dry-fit the strip or bar along the jamb before committing to adhesive or screws, checking it clears the door sweep and strike plate.
- Route the cable. Most jamb gaps have enough clearance to tuck a thin cable flush; use adhesive wire channels if the gap is too tight to hide it cleanly.
- Mount permanently, following the product’s adhesive or bracket instructions, working top to bottom so gravity doesn’t pull the strip off center.
- Seal exposed edges with a thin bead of clear silicone if any part sits where rain or snow could reach it.
- Test before closing up. Cycle the sensor, check color modes, and open and close the door a few times to confirm nothing catches.
Most DIYers finish this in 45 minutes to 90 minutes with basic tools. Budget $20 to $60 for a mid-range retail kit, plus a few dollars for silicone sealant if needed.
If your chosen light requires hardwiring into an existing circuit rather than running on battery or USB power, stop and shut off the breaker before opening any junction box. Lighting contractors consistently flag correct fixture selection and weatherproofing as the two most common points of failure in exterior installs, and that’s exactly where an unlicensed hardwire job goes wrong. Call a licensed electrician for anything beyond battery or plug-in power.
Pro Tip: Test your light kit indoors on a table before final mounting. It’s much easier to catch a dead battery or a mislabeled sensor setting before it’s glued to your door frame.
What Should You Look For Before Buying a Door Frame Light?
Run every listing through the same six checks: power source, motion or dusk sensor, color temperature, lumen output, IP rating, and mounting type. Skip any one of these and you risk buying a light that looks wrong or dies in its first rainstorm.
- Color temperature: aim for 2700K to 3000K, which reads as warm and welcoming rather than clinical
- Brightness: 700 to 1300 lumens covers most entryways without glare
- IP rating: anything mounted where wind-driven rain can reach it needs at least IP65
- Mounting type: confirm the kit fits your frame width and material before ordering, not after
- Warranty and returns: a listing with no return policy or install guide is a red flag worth walking away from
LED remains the right technology choice across every category here. ENERGY STAR’s efficiency guidance backs LED over incandescent or halogen for exactly this kind of always-on or motion-triggered fixture, since the lower draw matters more the longer a light stays lit each night.
Match the product to the job: a thin ambient bar suits a decorative accent glow, a brighter retail kit works better as a functional light near the lock, and an in-frame or pro-installed system makes sense if you want something permanent and integrated rather than visibly “added on.”
Why Is Light Coming Through My Door Frame, and How Do I Fix It?
Daylight leaking around a closed door almost always points to a seal problem, not a design flaw in whatever light kit you’ve installed. Worn weatherstripping, an undersized door sweep, or hinges that have pulled the door out of square are the three usual culprits. Check hinge screws first. Loose ones let the whole door sag and open a gap at the top or side.
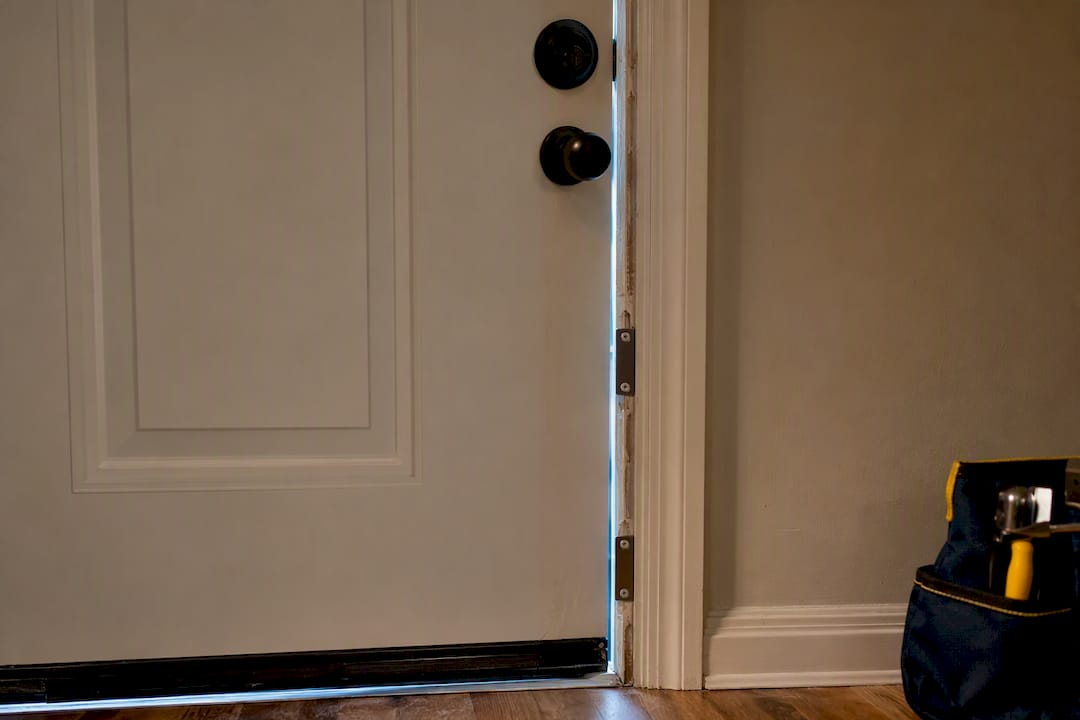
If the light line runs along the bottom, look at the threshold before replacing anything. Many sills have built-in adjuster screws that raise the threshold to meet the door, a five-minute fix that often solves the problem without buying new parts. Replacing a worn sweep runs $12 to $35, and a full V-strip weatherstripping kit costs around $20.
For the light fixture itself: dead batteries or a stuck motion sensor cause most complaints. Swap batteries first, then reposition the sensor if it’s triggering on passing traffic or blowing leaves rather than the door. Reapply silicone caulk to any gap where the frame meets the light housing once a year, and choose IP65 or higher for anything installed outside a covered porch.
- Loose hinges or a sagging door: tighten screws, re-shim if needed
- Worn sweep or weatherstripping: replace with a low-cost part
- Sensor false triggers: reposition away from foot traffic or foliage
- Annual check: reseal with silicone where housing meets frame
Pro Tip: Check your threshold adjuster screws before buying anything. It’s the single most overlooked, cheapest fix for daylight gaps around a front door.
When Does a Permanent, Pro-Installed System Make More Sense?
DIY kits solve the ambient-glow problem. They don’t solve it forever. If you want app-based color control for holidays and everyday use, a fully weatherproof integrated trim, or a finish that adds to resale appeal rather than looking bolted on, a permanent installation is the better fit.
A local outdoor lighting company has over 10 years of experience in the Capital Region and offers track installations with a lifetime parts warranty and custom 3D-printed brackets for a finish that looks built-in rather than added. The upfront cost runs higher than a $40 retail kit. What you get back is a system you never re-buy or re-mount.
Are There Building Codes to Worry About With Door Frame Lighting?
Most low-voltage, battery-powered door frame lights carry no permitting requirement because they don’t tie into your home’s electrical system. The moment a project involves hardwiring into an existing circuit, that changes. Local electrical codes generally require a licensed electrician for any new circuit connection, junction box work, or wiring routed through exterior walls.
Weatherproofing isn’t optional on anything installed where it faces direct rain, snow, or splash. Contractors point to proper IP ratings and correct fixture selection as the two factors that most often determine whether an exterior light lasts, and a light rated for indoor use only will fail fast bolted to an exposed frame. Look for IP65 or higher on anything outside a covered entry.
Battery-powered and plug-in kits sidestep most code questions entirely, which is part of why they dominate the DIY market. If your project involves any hardwired connection, running new line voltage, or modifying existing exterior wiring, treat that as electrician territory, not a weekend project. Beyond safety, a poorly grounded or improperly sealed hardwired fixture is also a common cause of nuisance breaker trips and, in worse cases, a fire risk.
If you’re unsure whether your planned install crosses that line, ask the manufacturer directly or call a licensed electrician before you start. A five-minute phone call is cheaper than redoing exterior wall work.
A Straight Take on Door Frame Lighting Choices
Most guides oversell the DIY kits and undersell how fast they show their limits. A $30 retail strip looks great for a season, then the adhesive fails, the battery dies during a dinner party, or the color mode you liked in the listing photo looks nothing like it does on your actual door at night. None of that makes the kits bad. It makes them what they are: a fast, cheap way to test whether you like accent lighting at your entry before committing to something permanent.
The bigger gap in most advice is treating “in-frame” and “pro-installed” as the same tier. They’re not. LightEn only works if you’re already ordering a new door through a dealer, which rules it out for most retrofit situations entirely.
My honest read: buy the cheap kit first if you’re not sure you’ll like the look. If you already know you want app control, real weatherproofing, and a finish that doesn’t need annual troubleshooting, skip straight to a permanent install instead of burning a season on a strip you’ll replace anyway.
— Luis T
Want a Permanent, App-Controlled Alternative to DIY Kits?
If you’ve read this far and you’re leaning toward “I don’t want to redo this every year,” that’s the exact problem Capital Pro Lighting solves. Instead of a retail strip you’ll be replacing or a factory header you can only get by special order, Capital Pro Lighting installs a permanent LED system around your entry and roofline that you control entirely from your phone, no batteries, no seasonal takedown, no ladder.
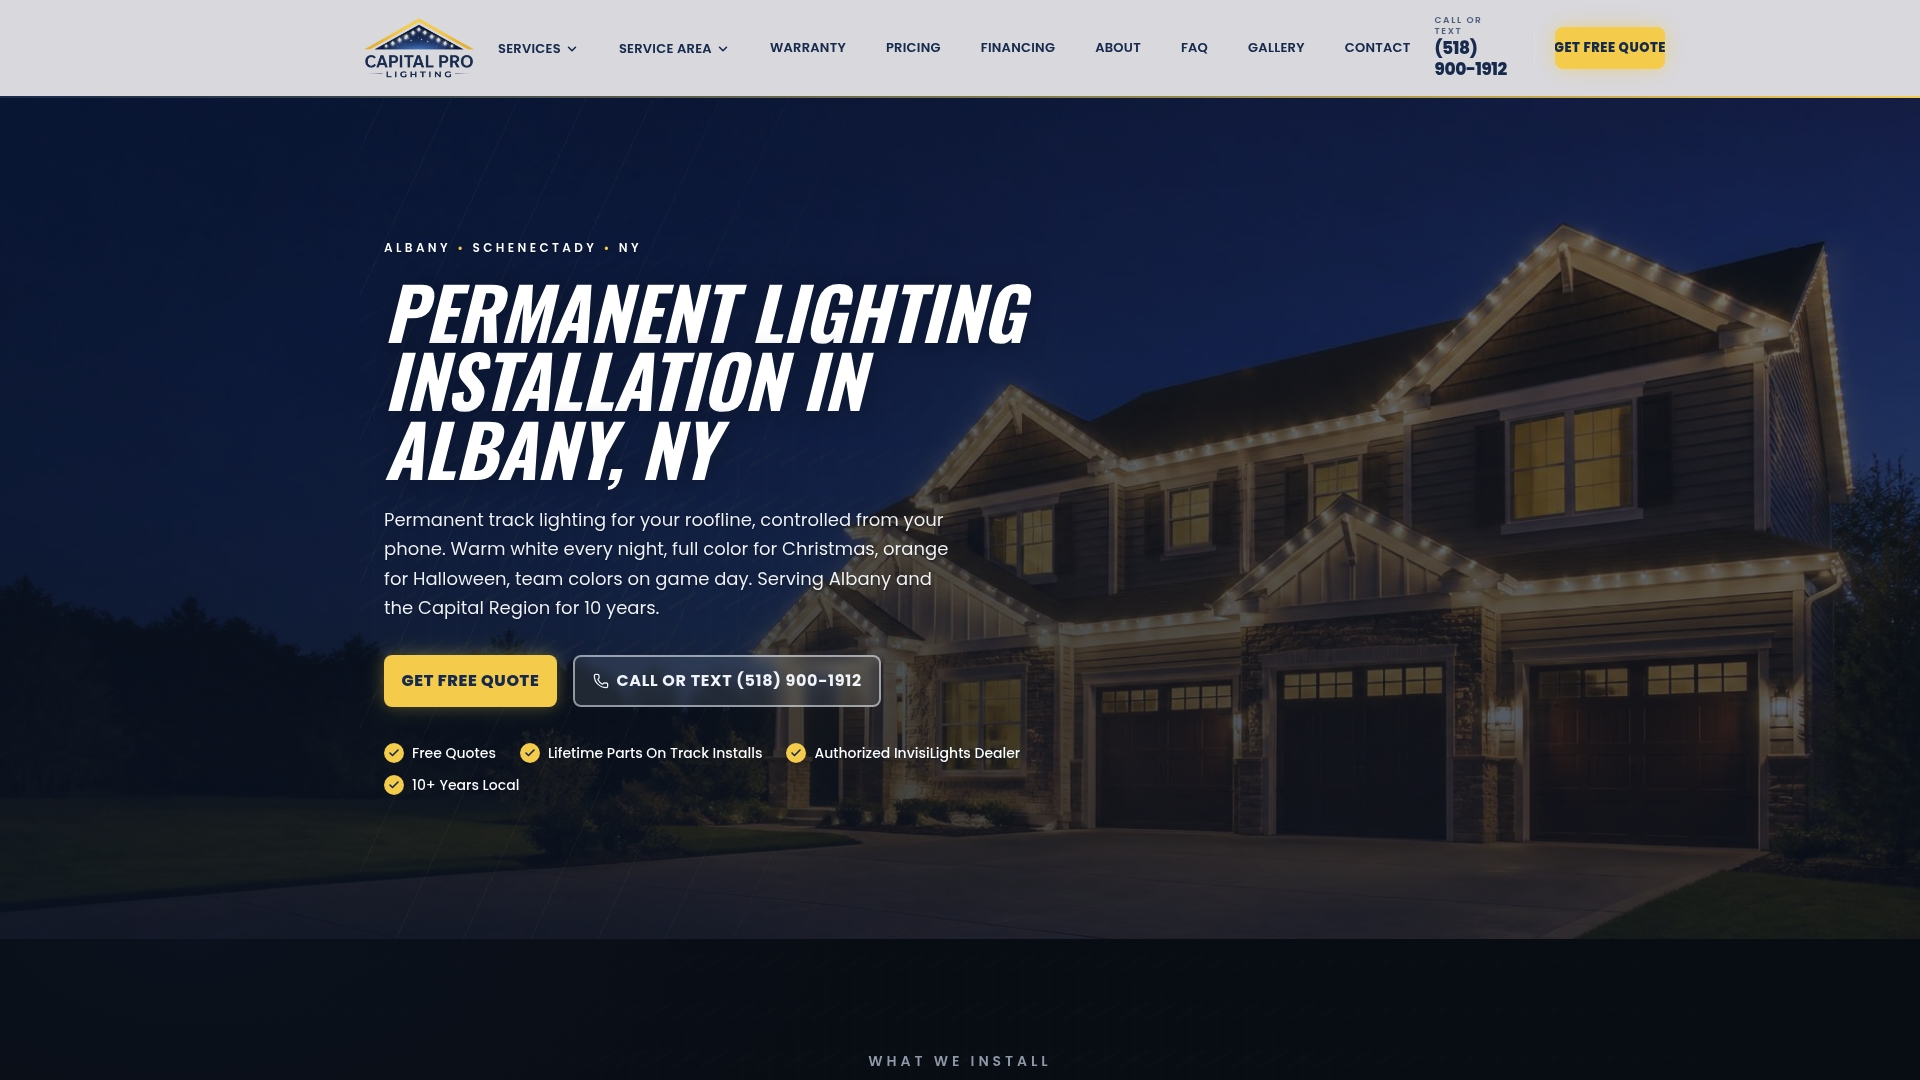
Every track installation carries a lifetime parts warranty, and the custom 3D-printed brackets give the finished look a built-in feel rather than an add-on. This fits homeowners across the Capital Region who want their entry lit year-round and ready to switch colors for a holiday, a game day, or just a Tuesday, without touching a single wire again. Check availability for your address on the Capital Pro Lighting service area page and book a consult to see what a permanent setup looks like on your own door.
Where to Learn More About Door Frame Lighting Products
- ENERGY STAR for efficient lighting standards
- Endura’s LightEn page for in-frame product specs
- One Day Doors & Closets’ weatherstripping guide for sealing gaps
Sources
- What causes daylight to show around the front door? — Suburban Construction
- Front door LED light: The do’s and don’ts in lighting — PacLights
- Front door ceiling light: What every lighting contractor should know — LumenWholesale
- What is a Door Light Kit: Illuminating Your Entry and Enhancing Safety — NextTools
FAQ
What Do I Do If I Can See Sunlight Through My Door Frame?
Check your hinges and threshold adjuster screws first. Worn weatherstripping or a door that’s shifted out of square usually causes the gap, and replacing a sweep costs roughly $12 to $35.
What Light Is Best for a Front Door?
LED fixtures in the 2700K to 3000K warm white range, delivering roughly 700 to 1300 lumens, give a welcoming look without harsh glare at most entries.
What Is a Door Lamp?
A door lamp or door light kit pairs a light source with a power supply, either solar, battery, or hardwired, and often adds motion sensors or dusk-to-dawn automation.
What Are Some Creative Ideas for Front Door Lights?
Try a thin ambient bar tucked into the jamb for a soft accent glow, an in-frame header light for a factory-integrated look, or a permanent app-controlled system from Capital Pro Lighting for year-round color changes without any DIY upkeep.
Ready for a Brighter Home?
Free, no-pressure quotes across the Capital Region.
No obligation. Local installer. Same-day callback.
Reviewed by Capital Pro Lighting
Capital Pro Lighting installs permanent outdoor lighting, architectural lighting, and holiday lighting across Albany and New York's Capital Region. We install UL listed permanent lighting systems and have 10 years in business. More about our team.


